上架AppStore
一. 开发证书申请
进入 https://developer.apple.com/account
点击「Certificates, Identifiers & Profiles」
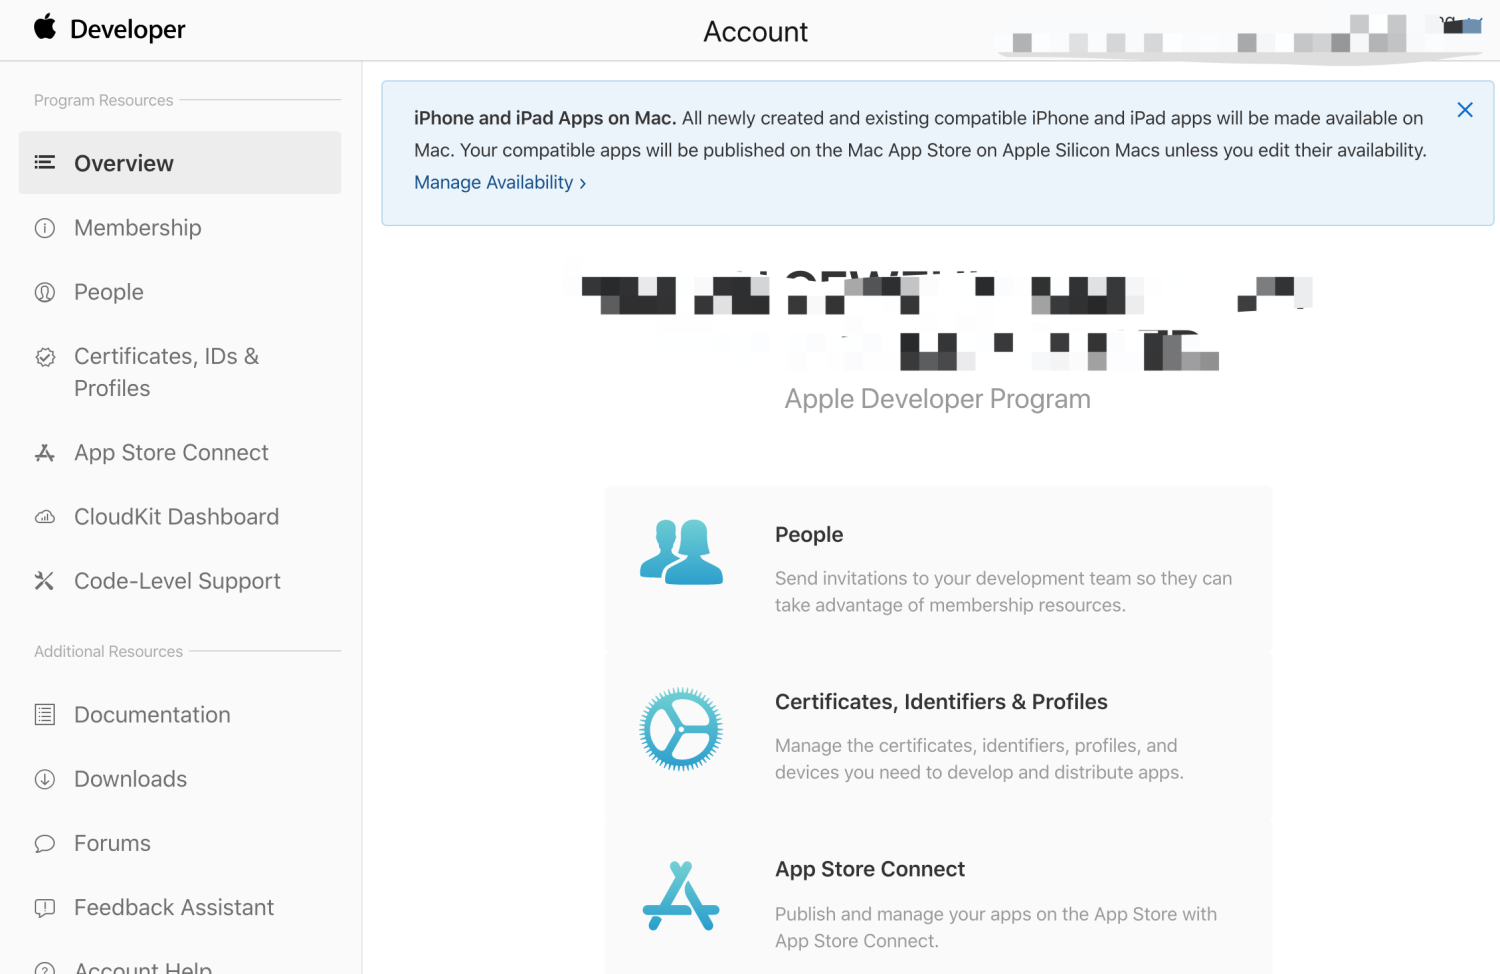
点击添加 Certificates :

选择「iOS App Development」后直接点继续:
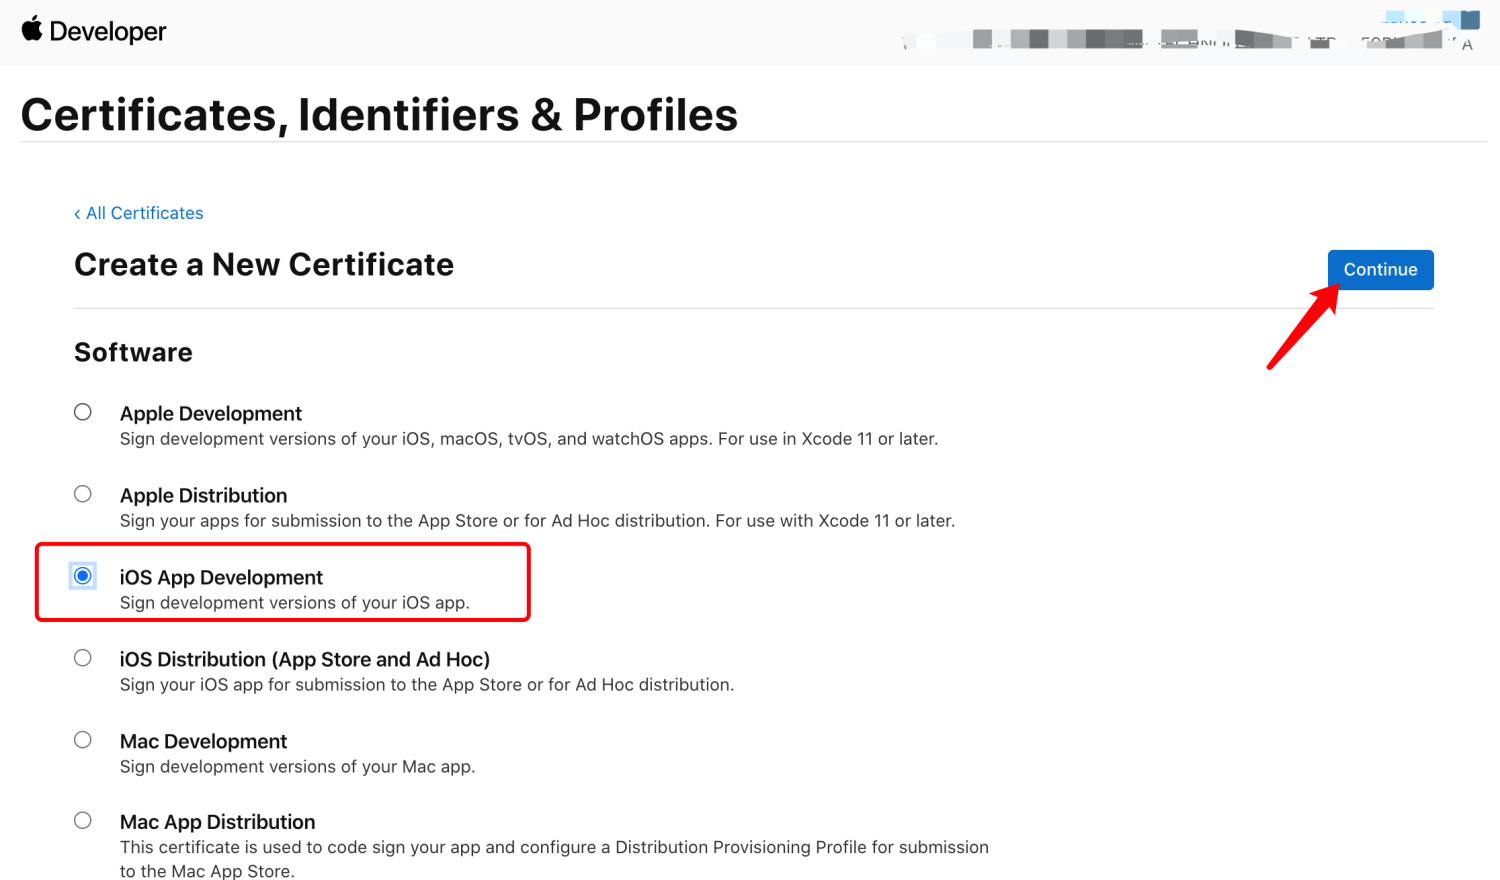
选择证书:
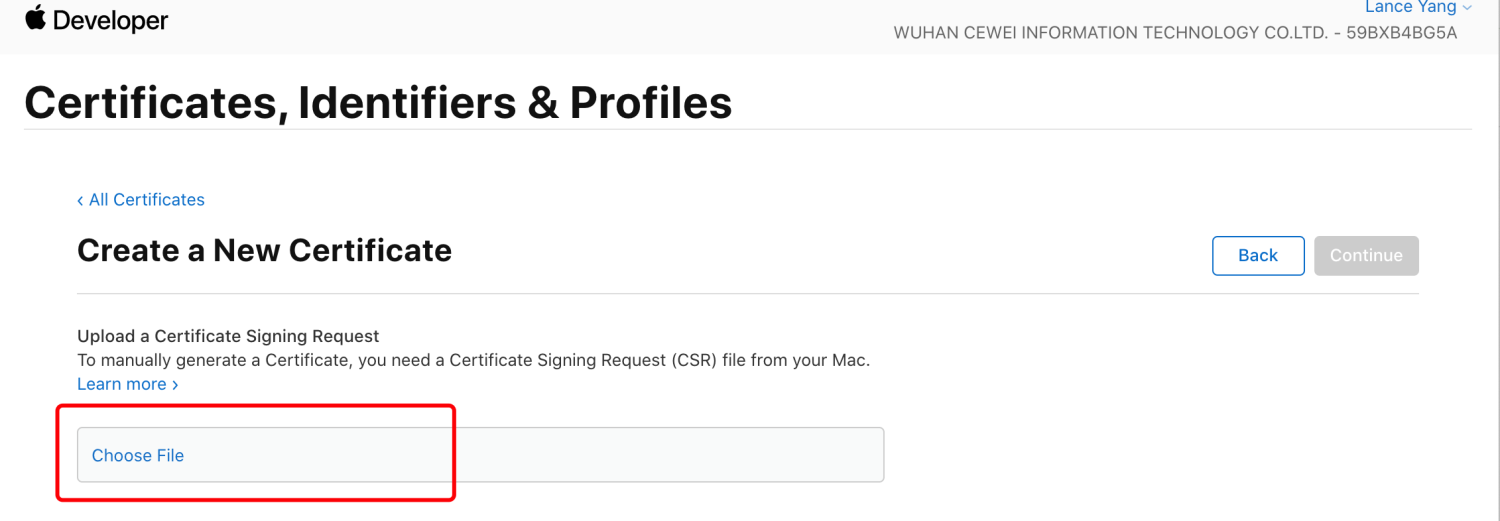
证书获取:
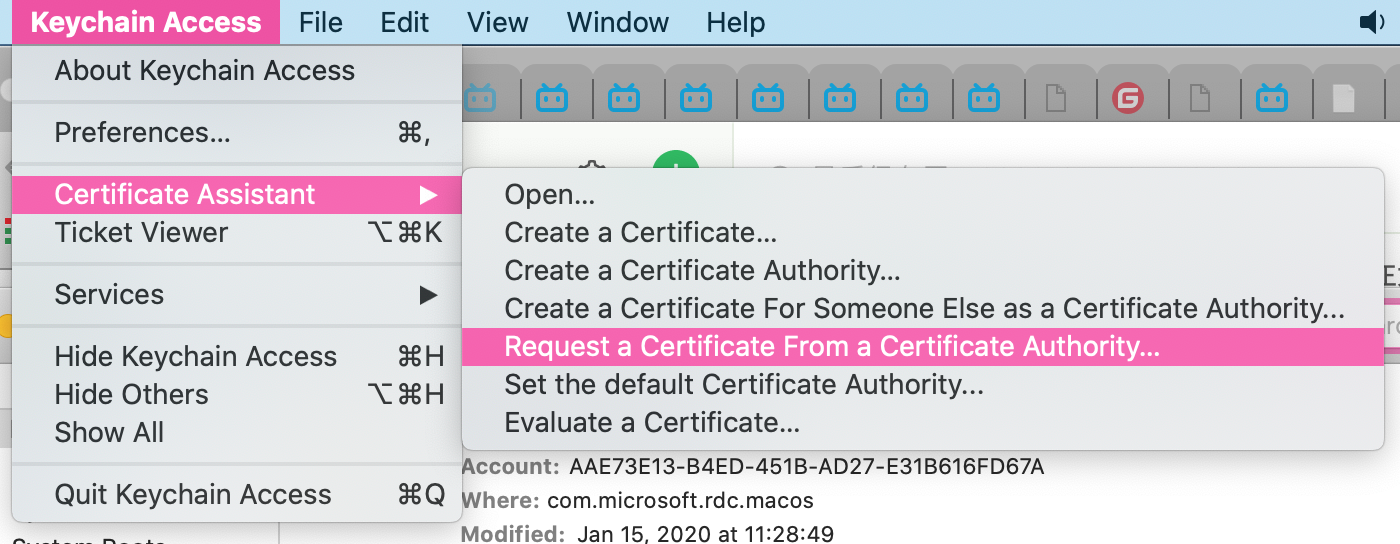
打开 Mac 上的钥匙串访问「Keychain Access」,在菜单选择「钥匙串访问 => 证书助手 => 从证书颁发机构请求证书」:
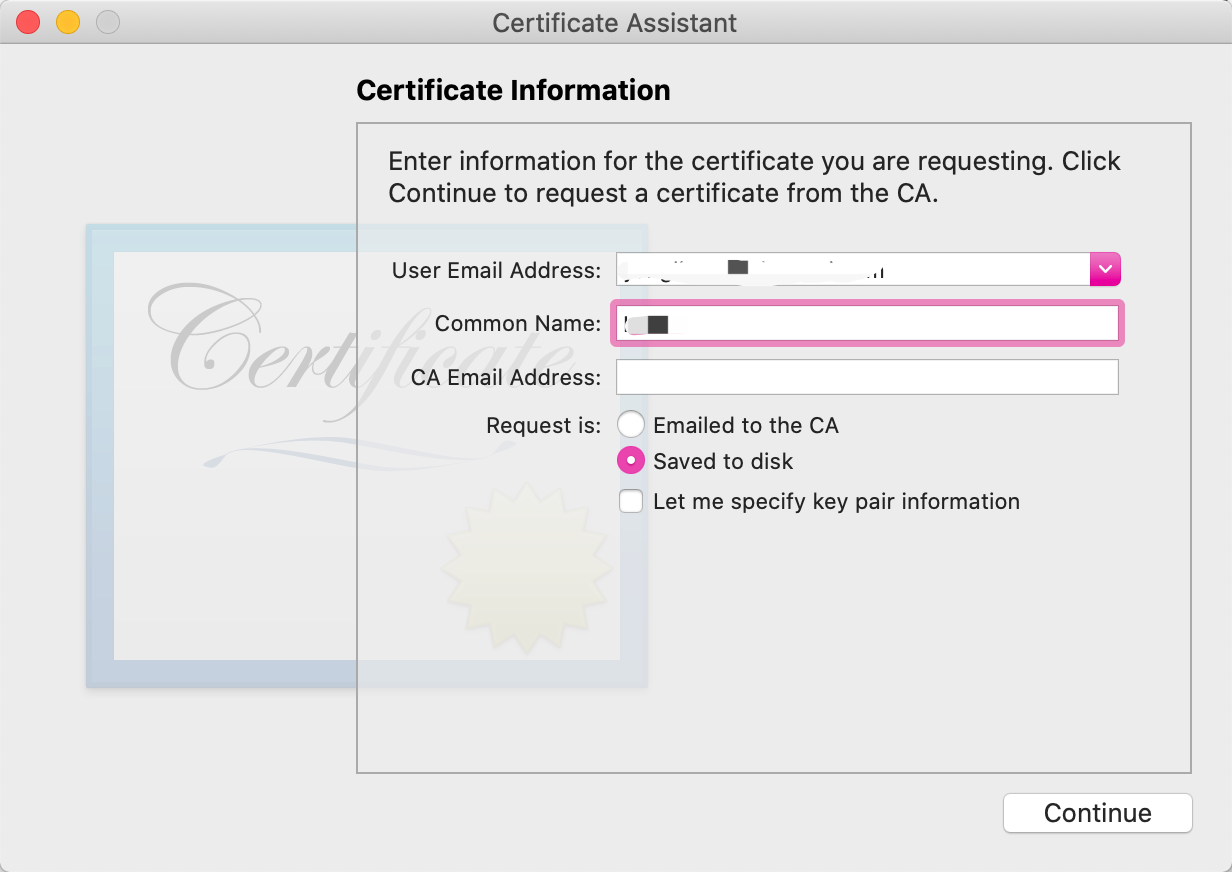
输入邮件,选择「存储到磁盘」:
选择保存位置:
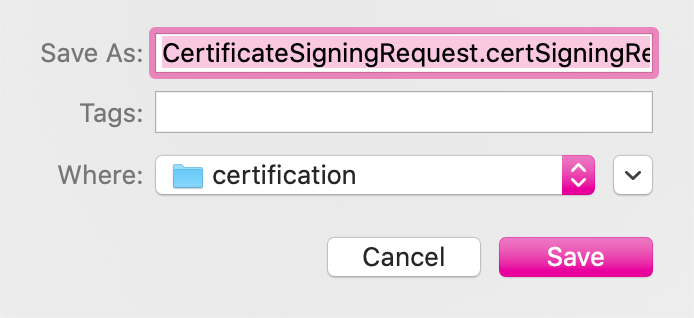
点击保存:
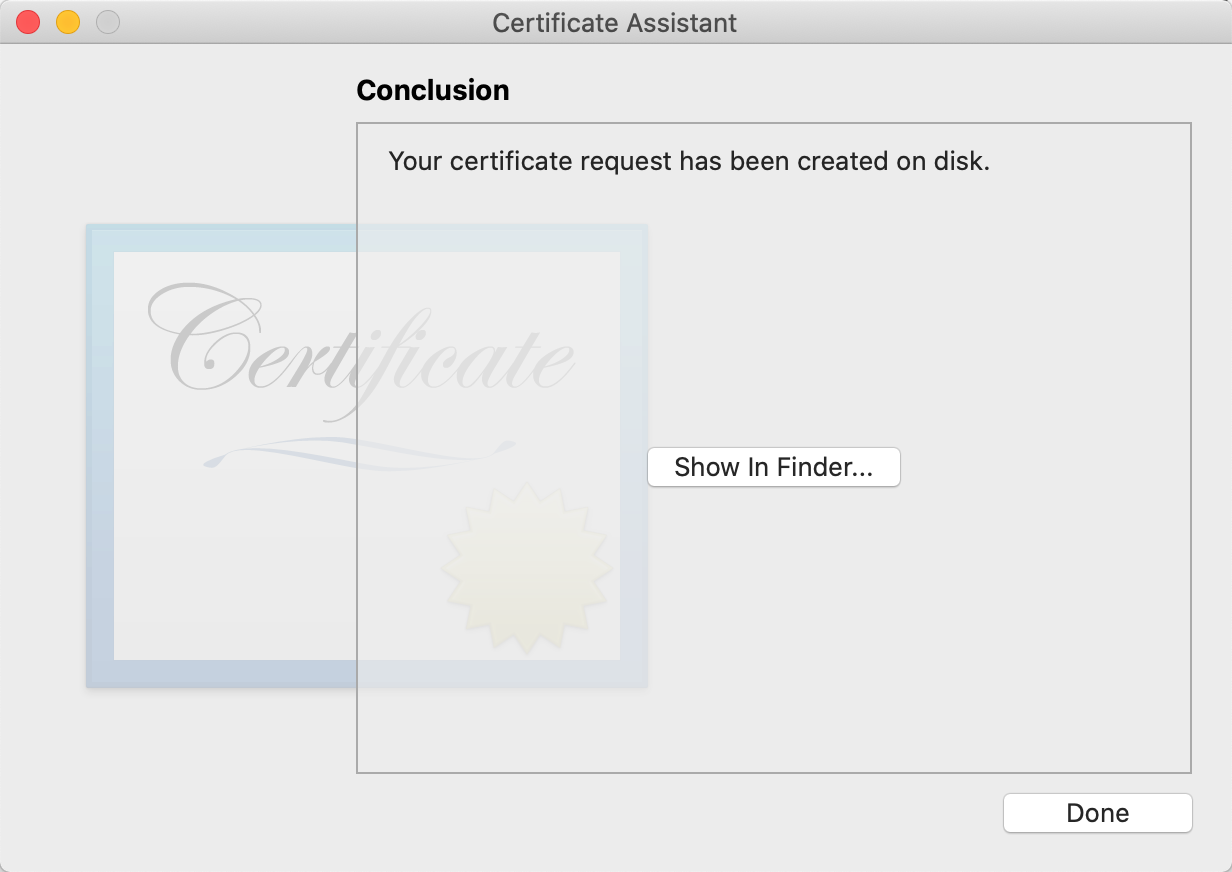
然后上传刚刚生成的证书,点击继续:

下载你的证书:
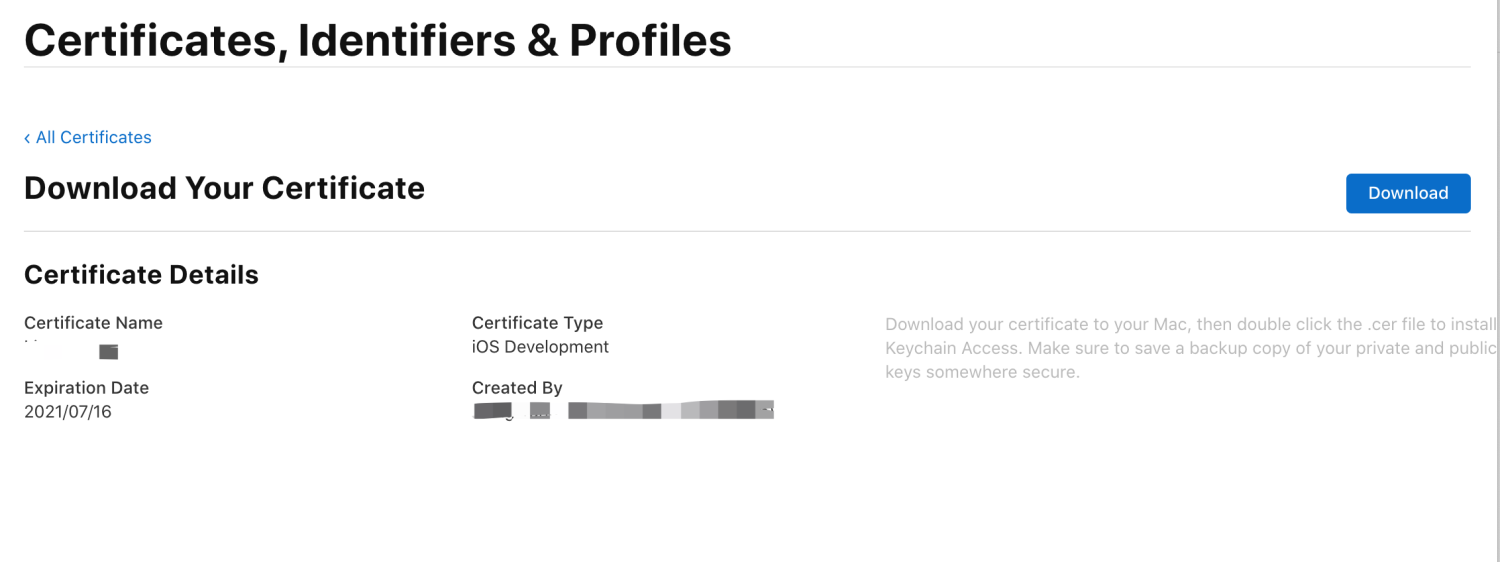
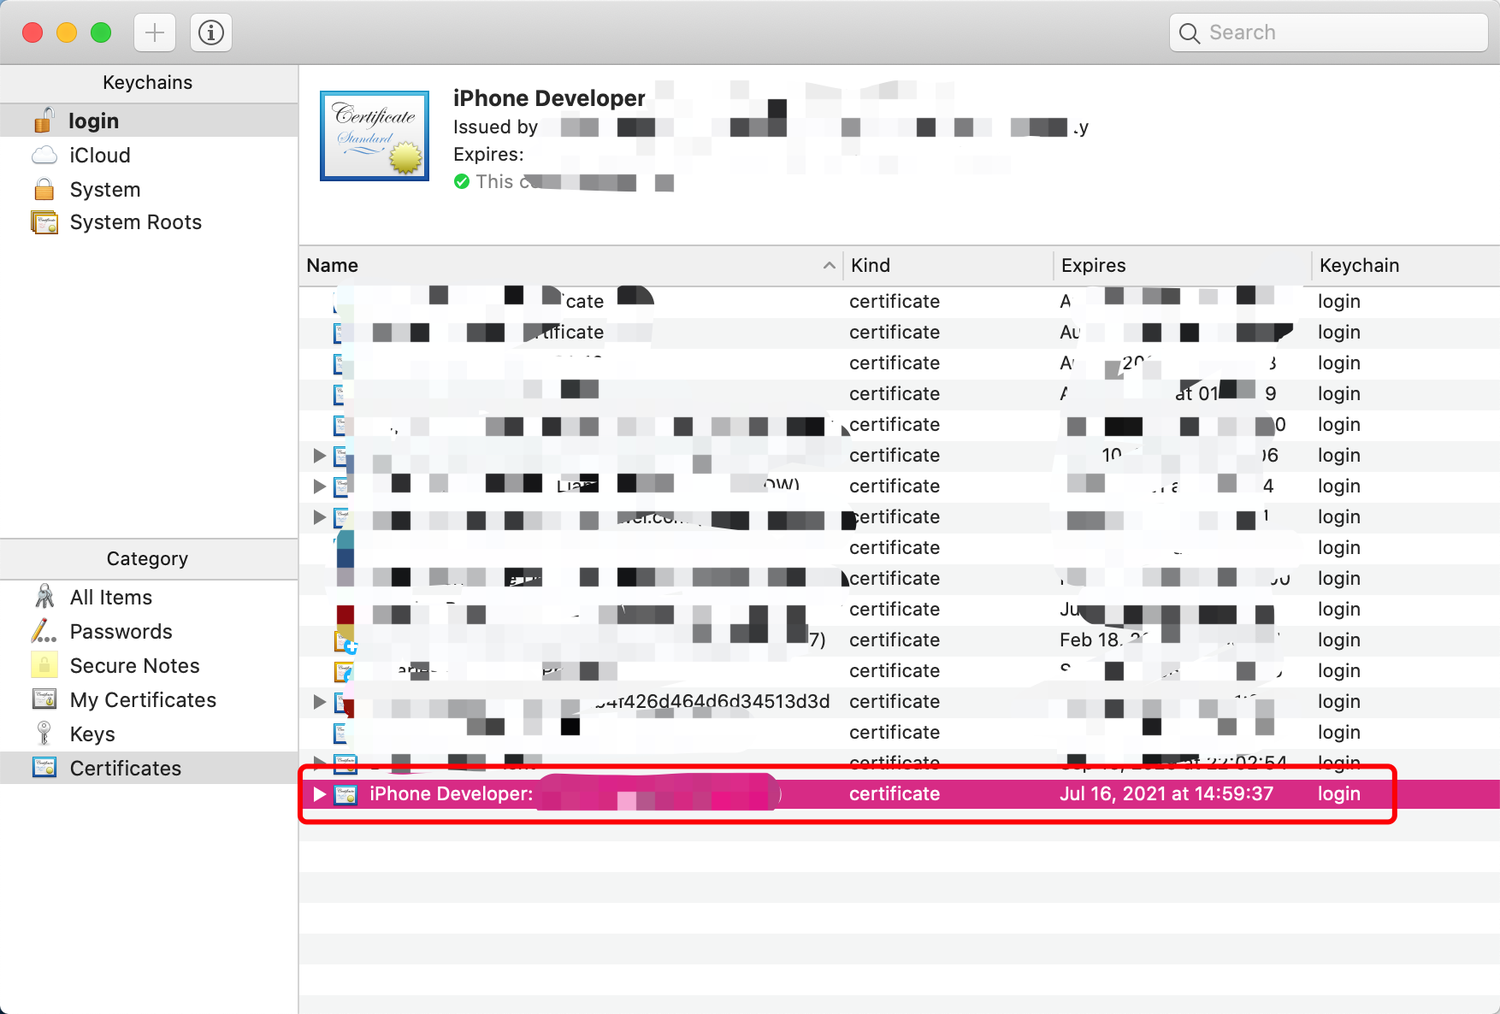
双击下载的证书安装:

输入密码后就能安装成功了:
二. App 证书申请
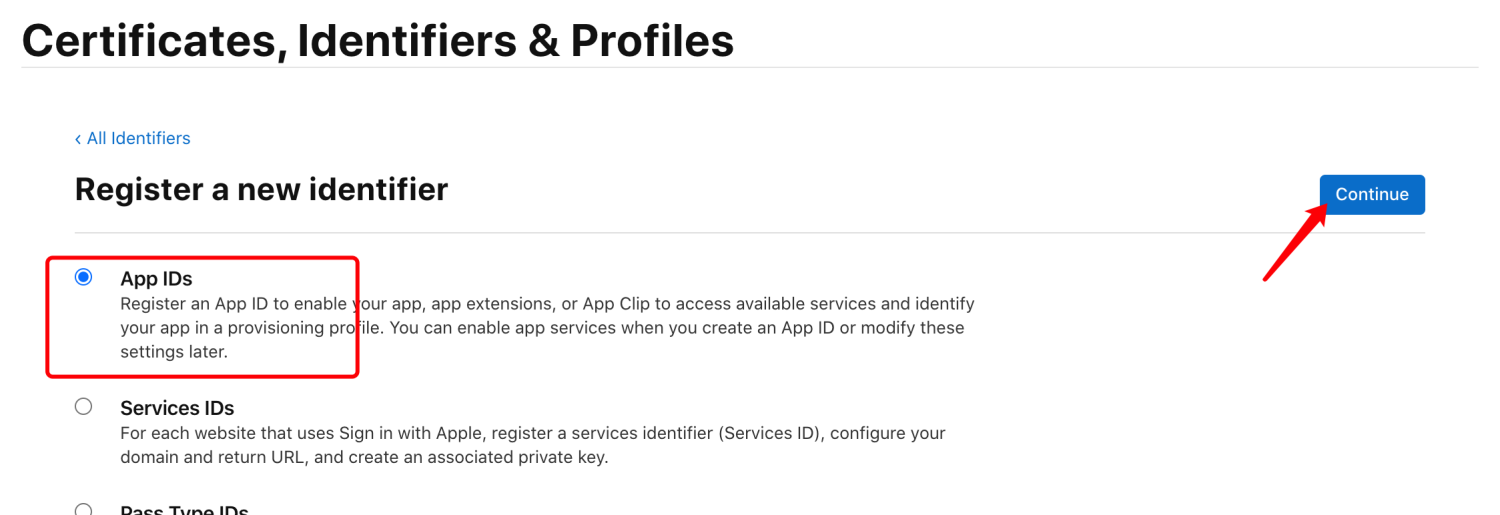
回到开发者控制台,选择「Identifiers」添加「Identifiers」:

选择「App IDs」点继续:
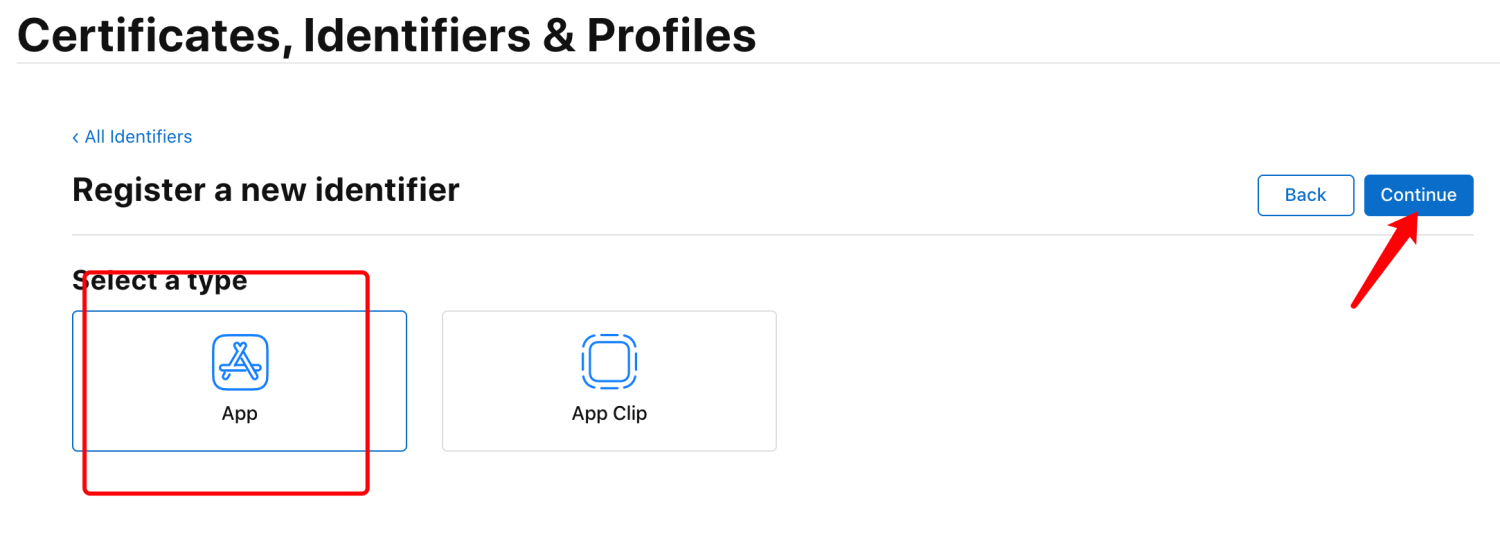
选择类型点继续:
添加证书描述和 Bundle ID(需要使用 APNs 时,必须选择“Explicit”,不能使用“Wildcard”):
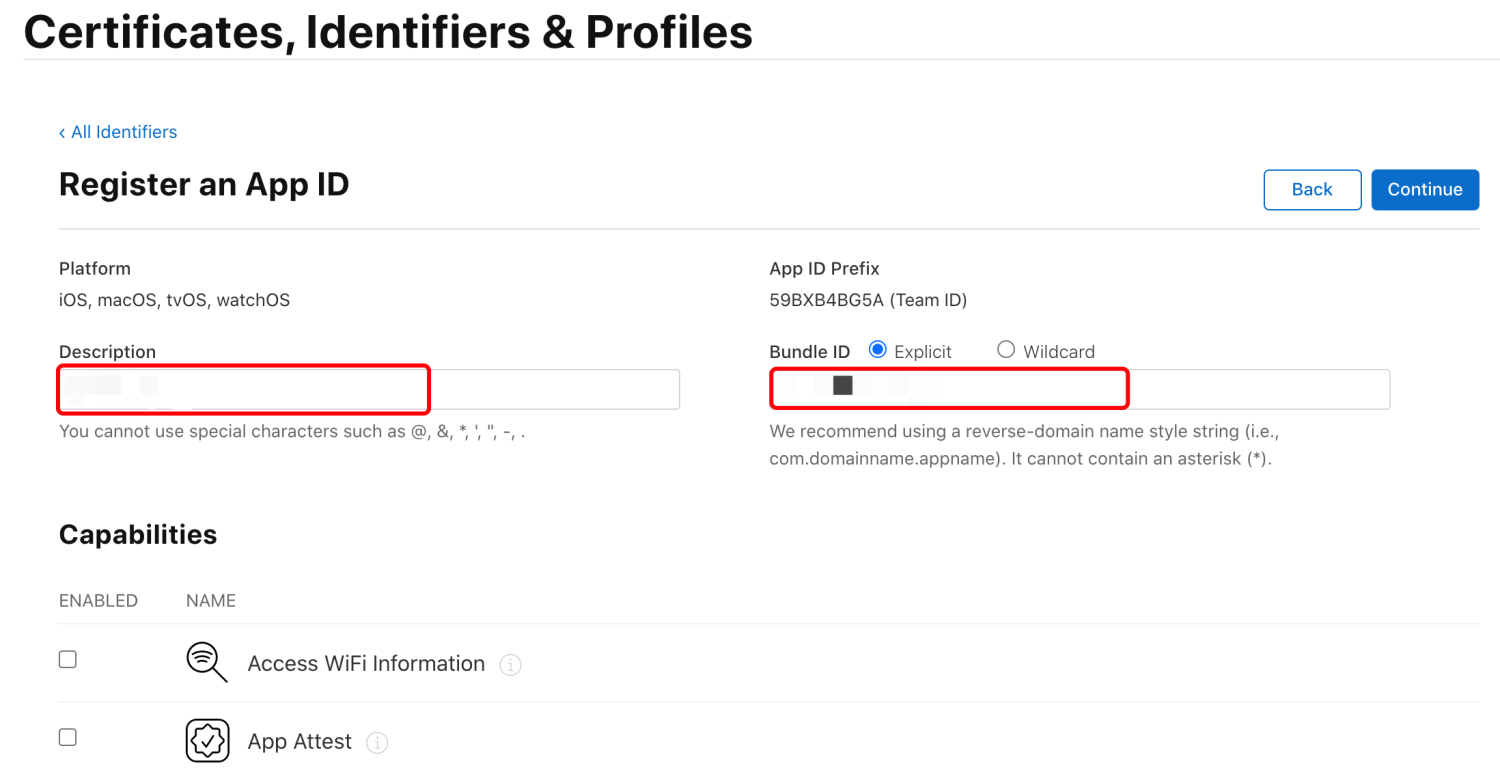
勾选下方你程序中所需的功能:

点击右上角继续后会让你确认一次信息,确认无误后点击注册:
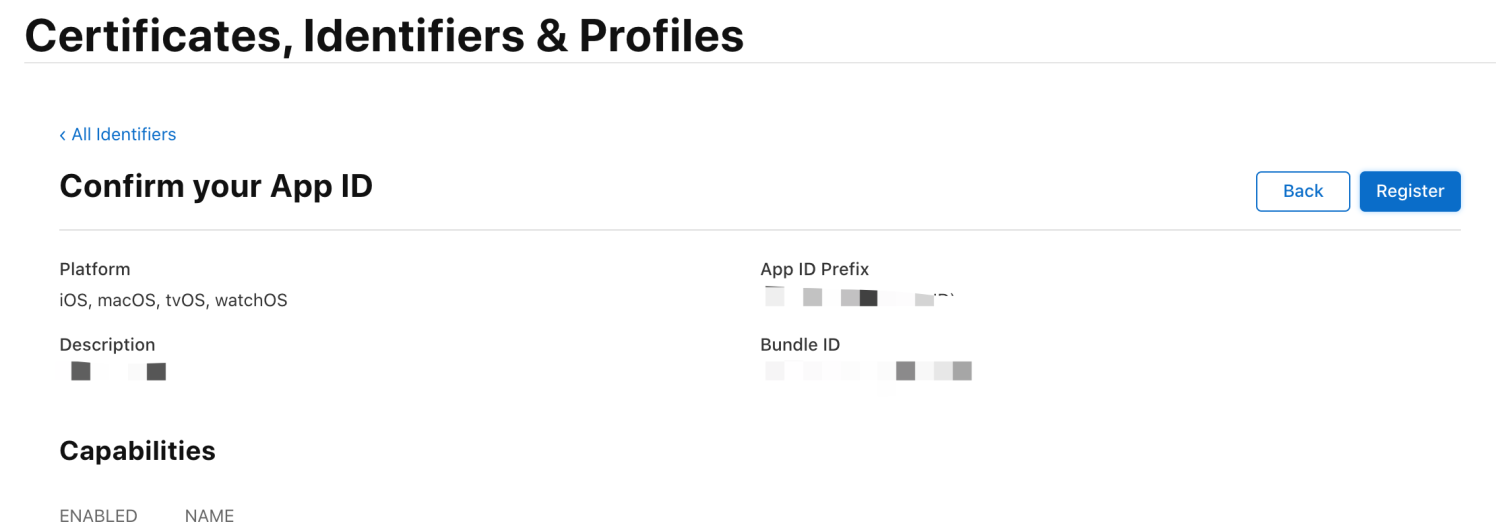
然后网页会自动跳转回「Identifiers」,可以看到你刚创建的证书:

三. APNs.p12 推送证书
点击添加:

新建证书需要注意选择证书种类。分为开发环境和通用环境两种。推荐场景通用环境推送证书,可以推送开发环境、生产环境、voip 等:

选择完点击继续,会让你选择需要使用推送证书的「App ID」,再点继续:
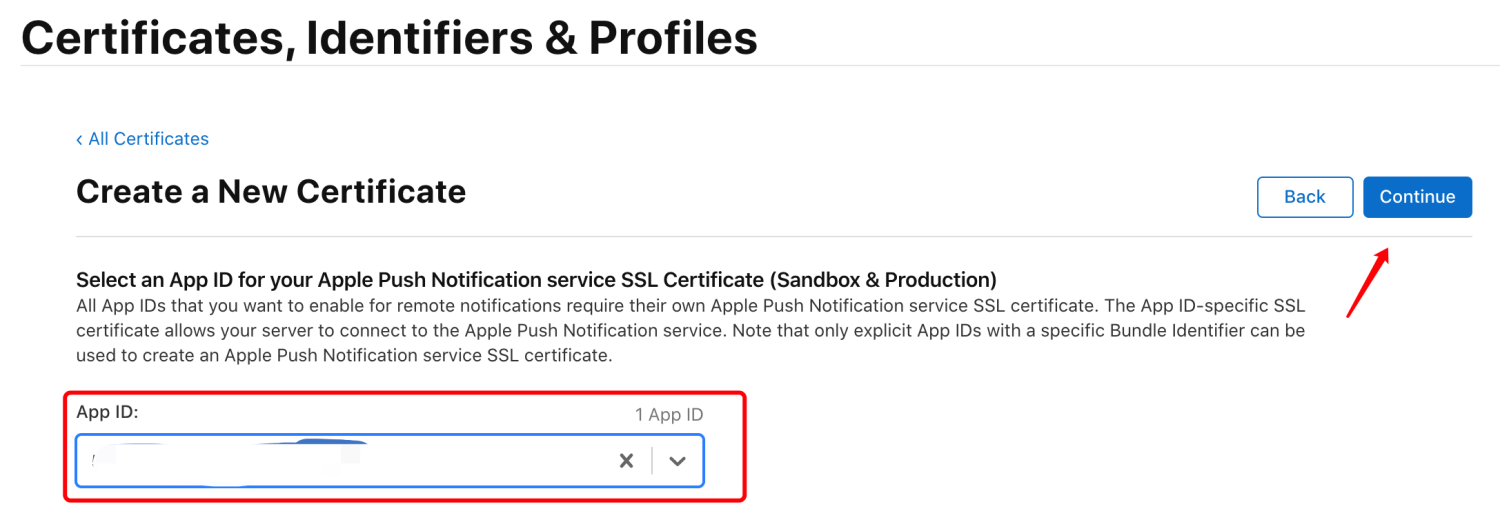
这里需要你上传 CSR 文件,就是在第一步生成的「CertificateSigningRequest.certSigningRequest」文件,的选择上传后点击继续:

创建成功后点击「Download」下载,后缀为 .cer 文件:
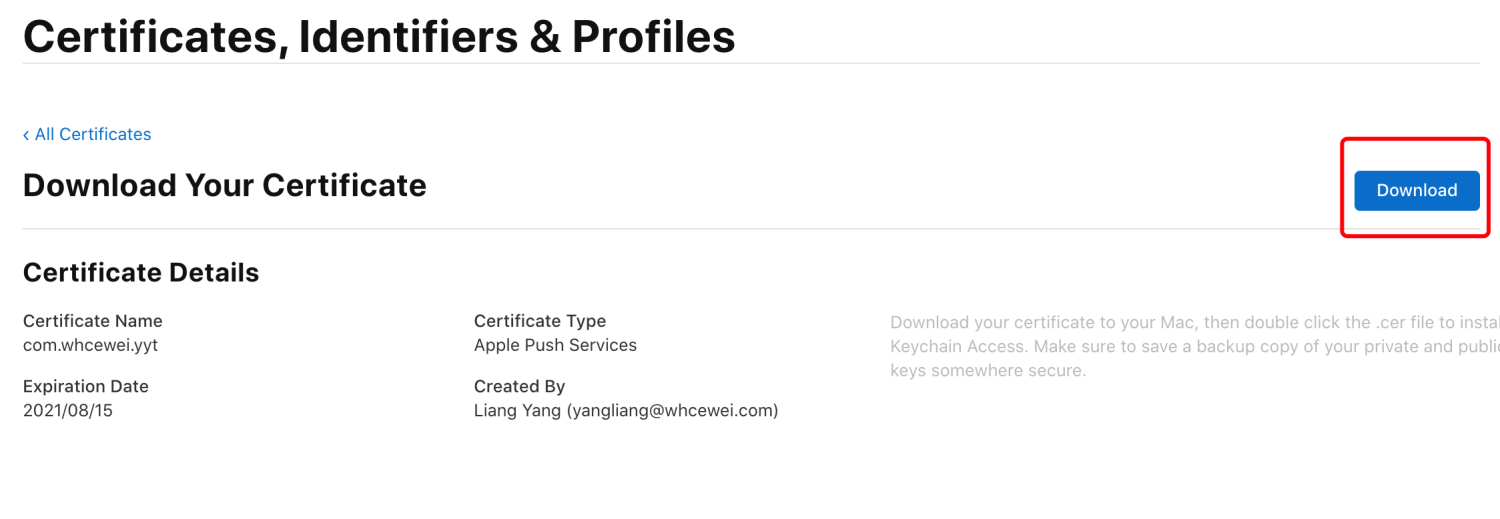
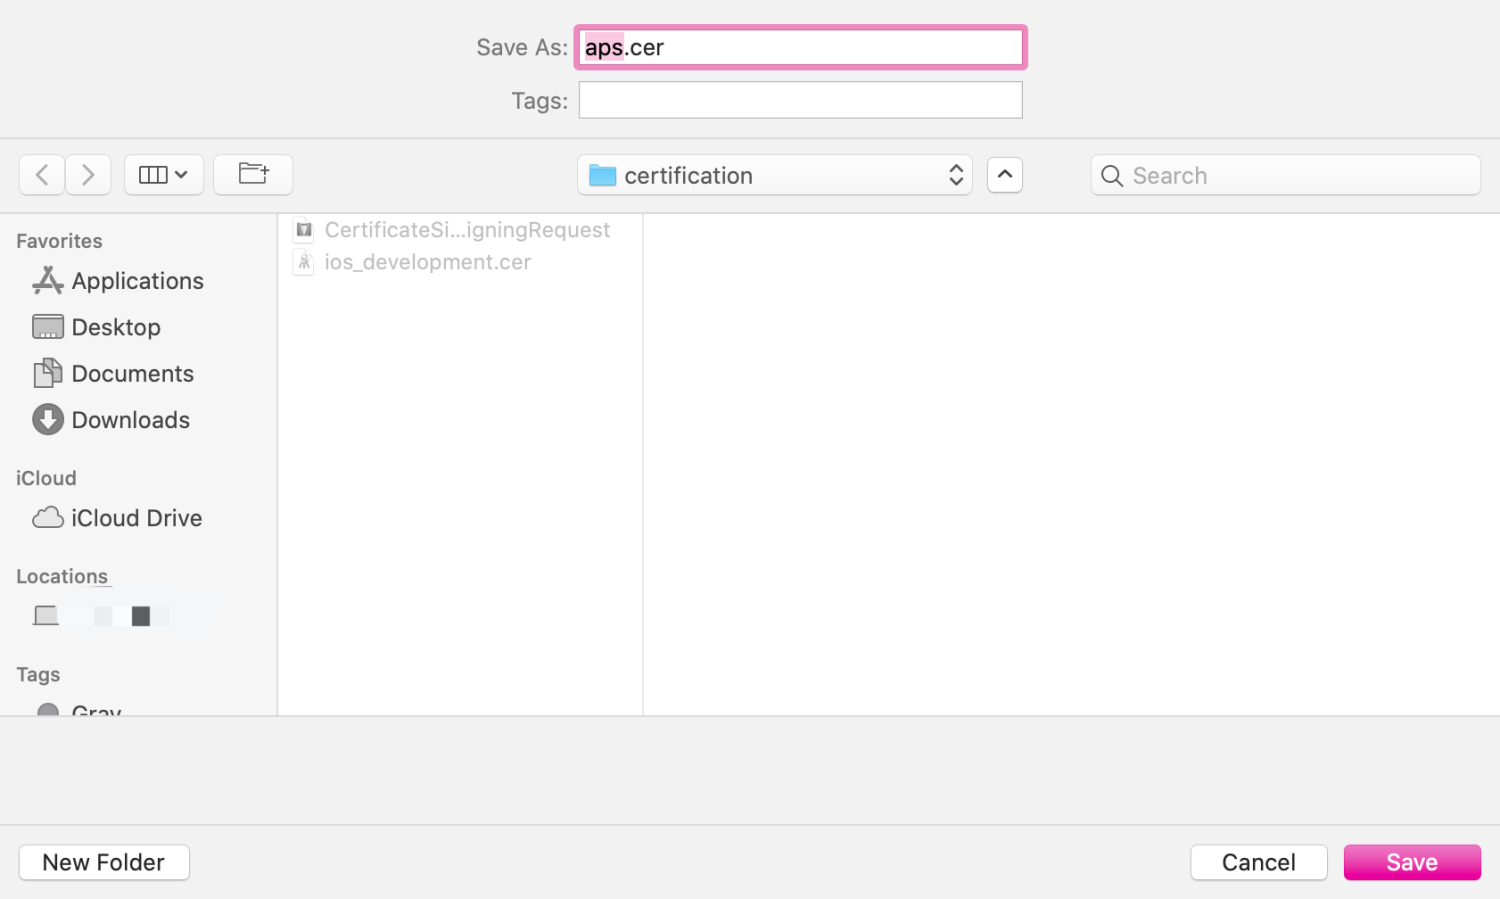
保存到本地后同样双击证书导入钥匙串:

注意
- 有效证书左侧存在一个小三角标记,代表证书存在对应秘钥,导出时记得关闭小三角标记。有效推送证书的名称为
Apple Push Services或Apple Development IOS Push Services。 Apple Push Services命名是通用环境推送证书Apple Development IOS Push Services命名是开发环境推送证书
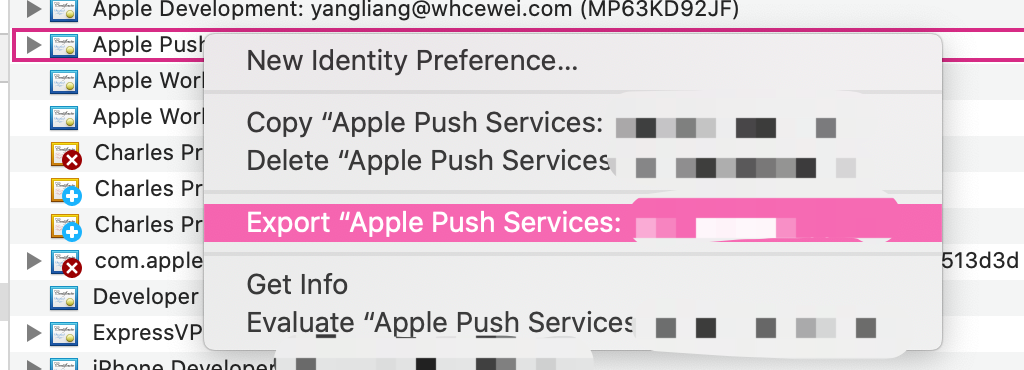
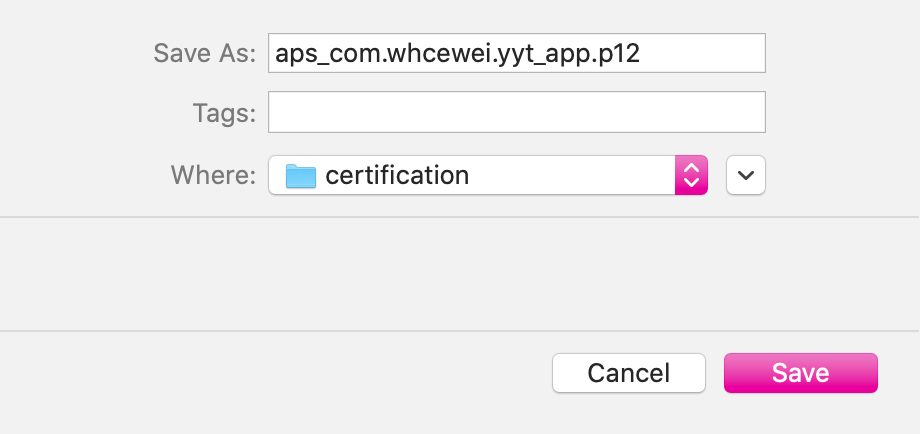
点击左侧 钥匙串-登录-种类证书,找到刚才导入的证书,右击导出.p12证书,并为其设置密码:
四. APNs Auth Key 证书(.p8 证书)
什么是 apns auth key:
Use the Apple Push Notification service for your notification requests. One key is used for all of your apps.(使用苹果推送通知服务通知服务,一个密钥可以用于你所有的应用程序)
而且正常的证书对应不同的 app,推送证书又有生产模式,开发者模式,使用起来非常的不方便。如果使用 apns auth key 就可以解决上述所有问题。
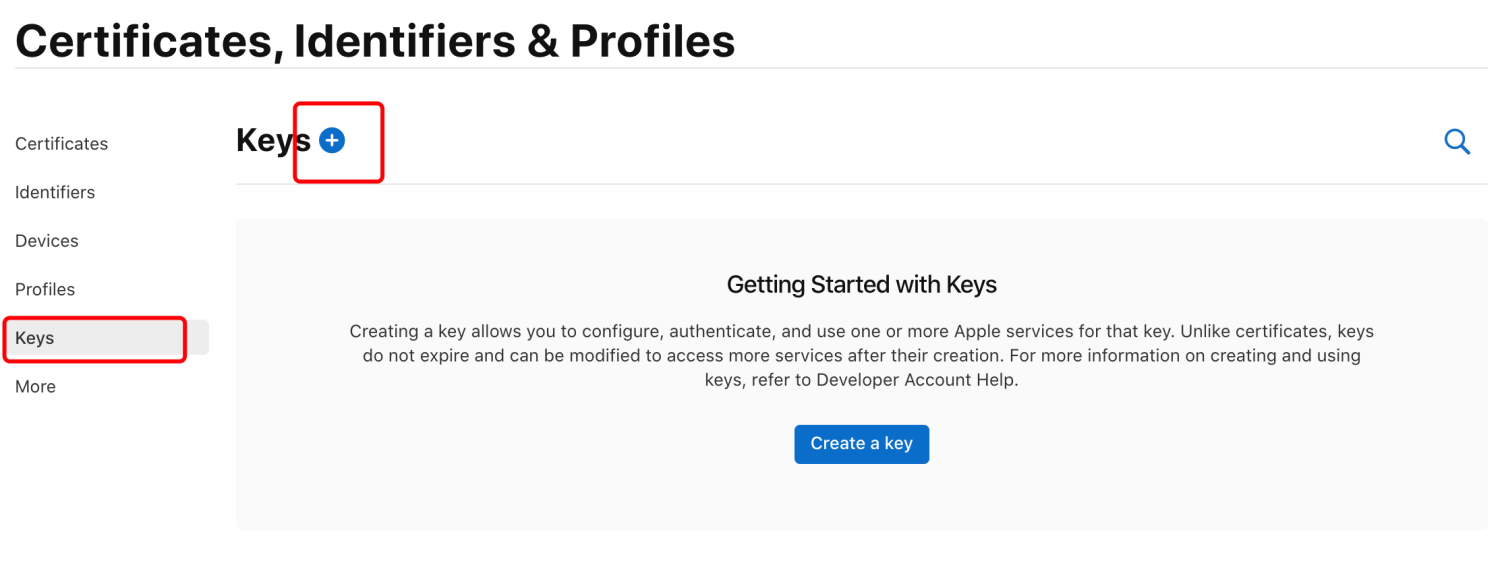
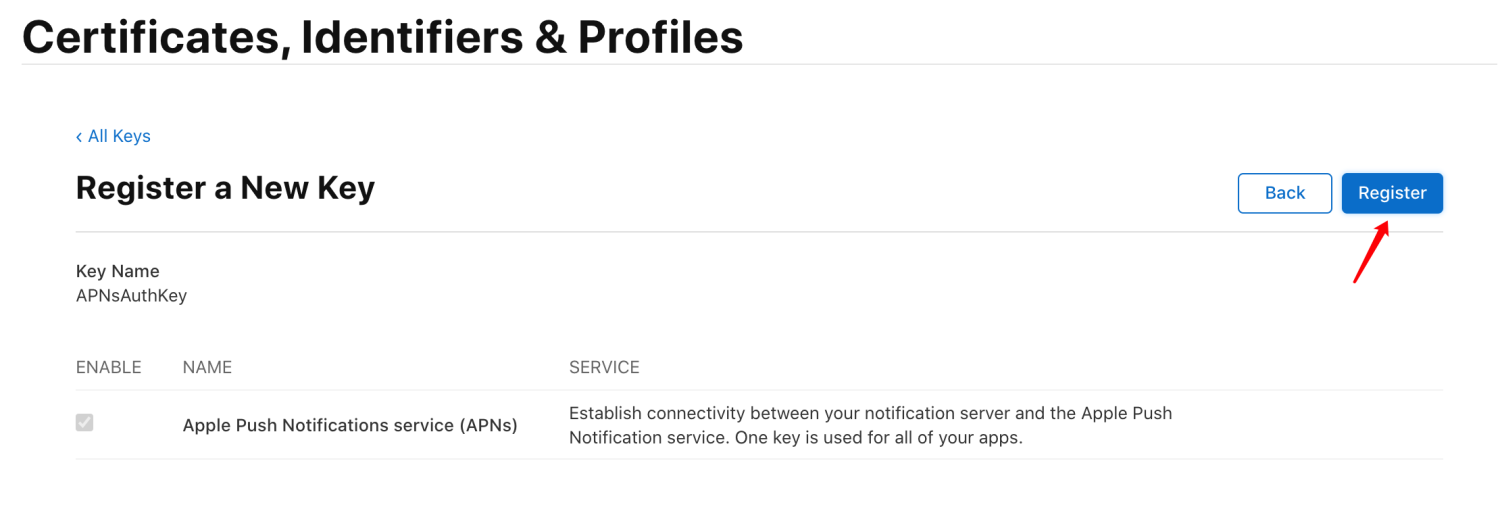
在控制台 - Certificates, Identifiers & Profiles中,选择左侧Key,点击+新建。
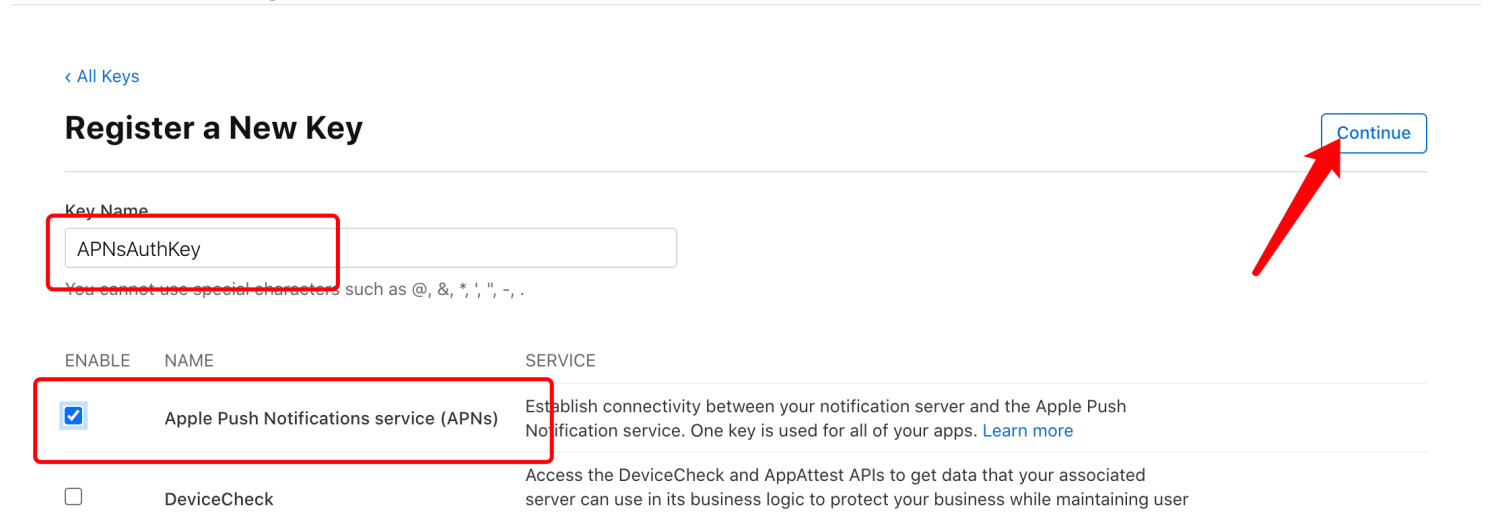
填写Key Name,勾选Apple Push Notifications service (APNs),点击Continue按钮:
点击注册:
创建成功后,点击Download按钮下载。
注意:只能下载一次,妥善保管。
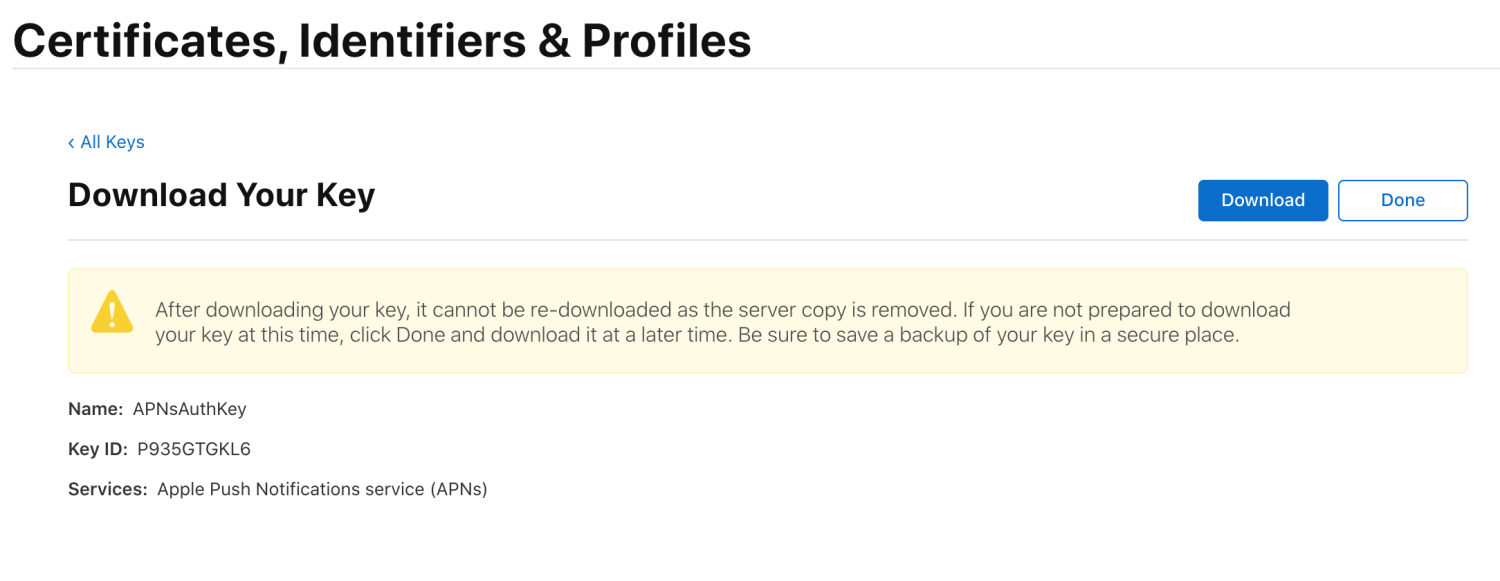
点击下载或完成后会回退到控制台,上面显示有你刚刚创建的 Key:

五. Provisioning Profile(描述文件)创建
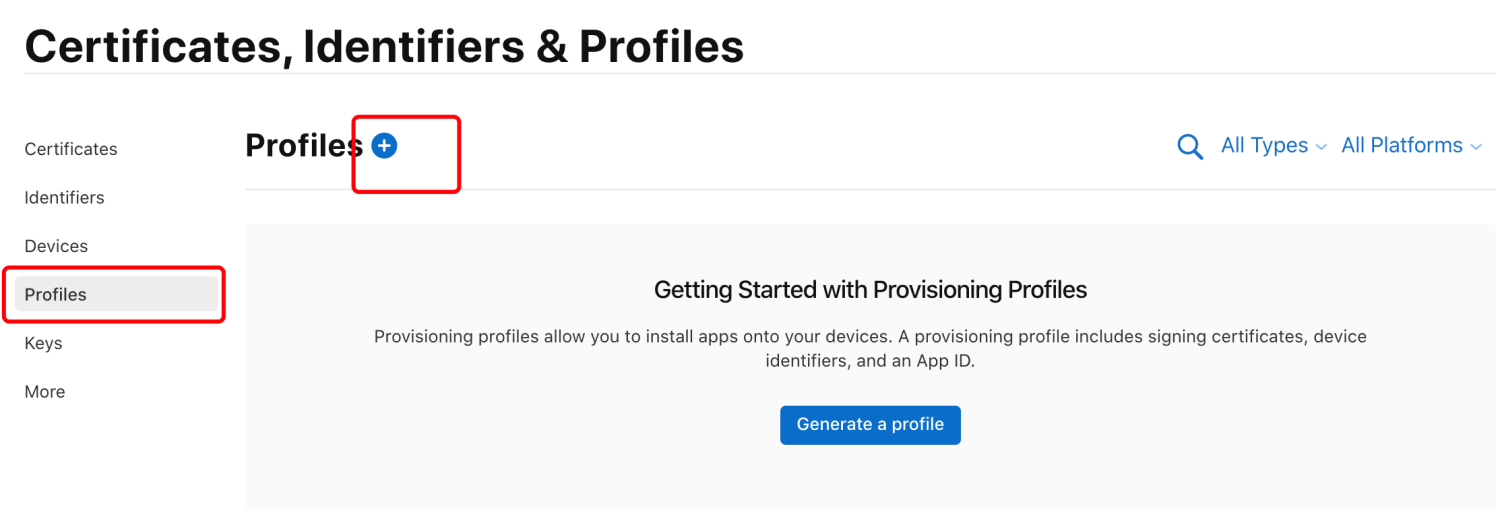
在控制台 - Certificates, Identifiers & Profiles中,选择左侧Profiles,点击+新建:
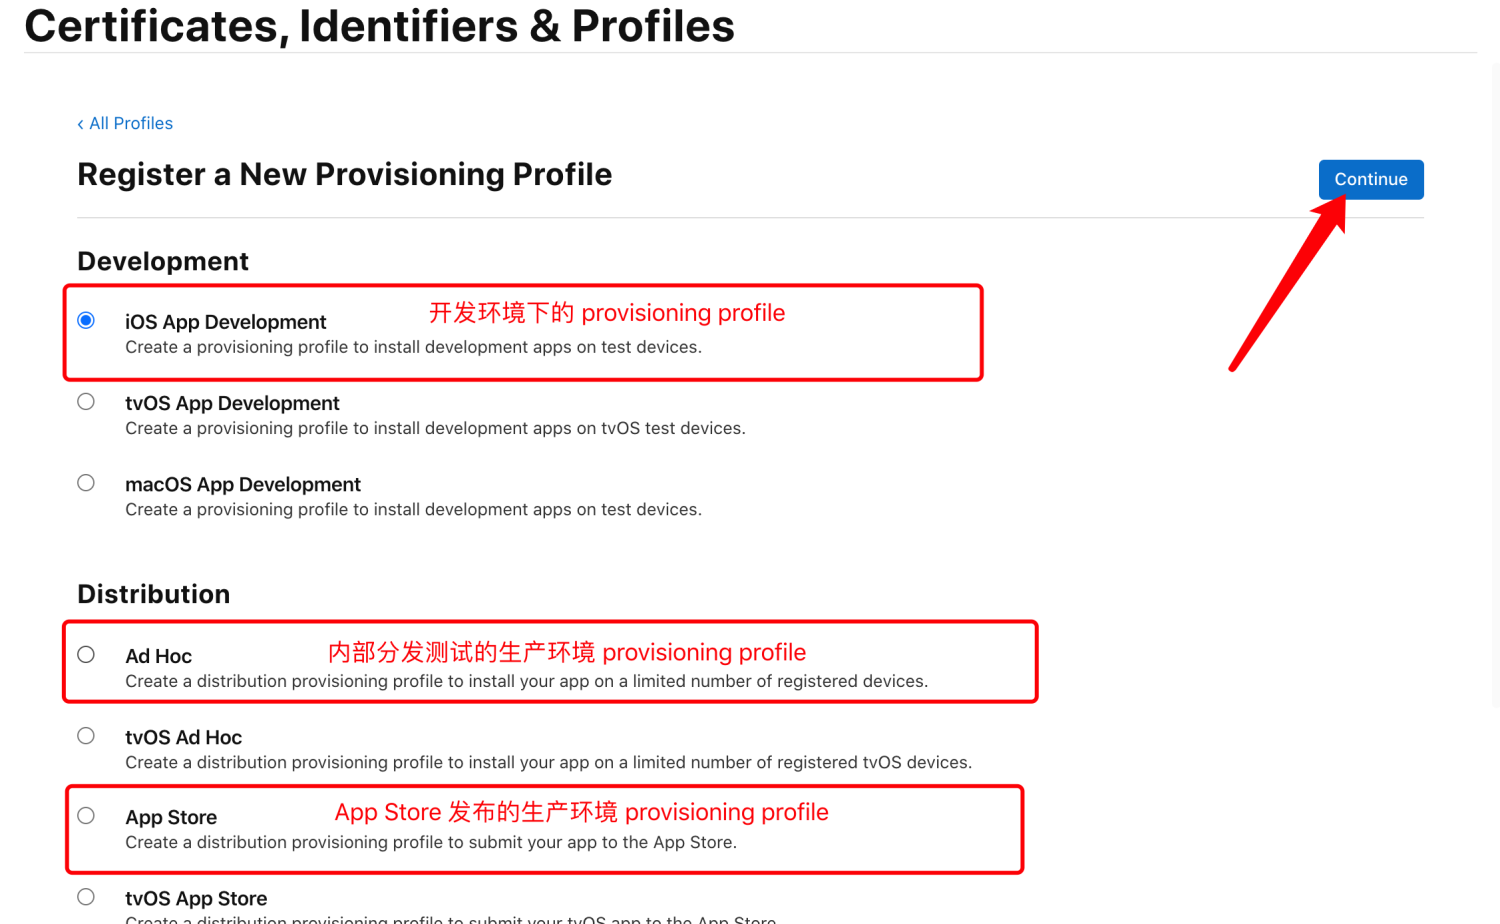
选择此Provisioning Profile的环境后,点击Continue按钮:
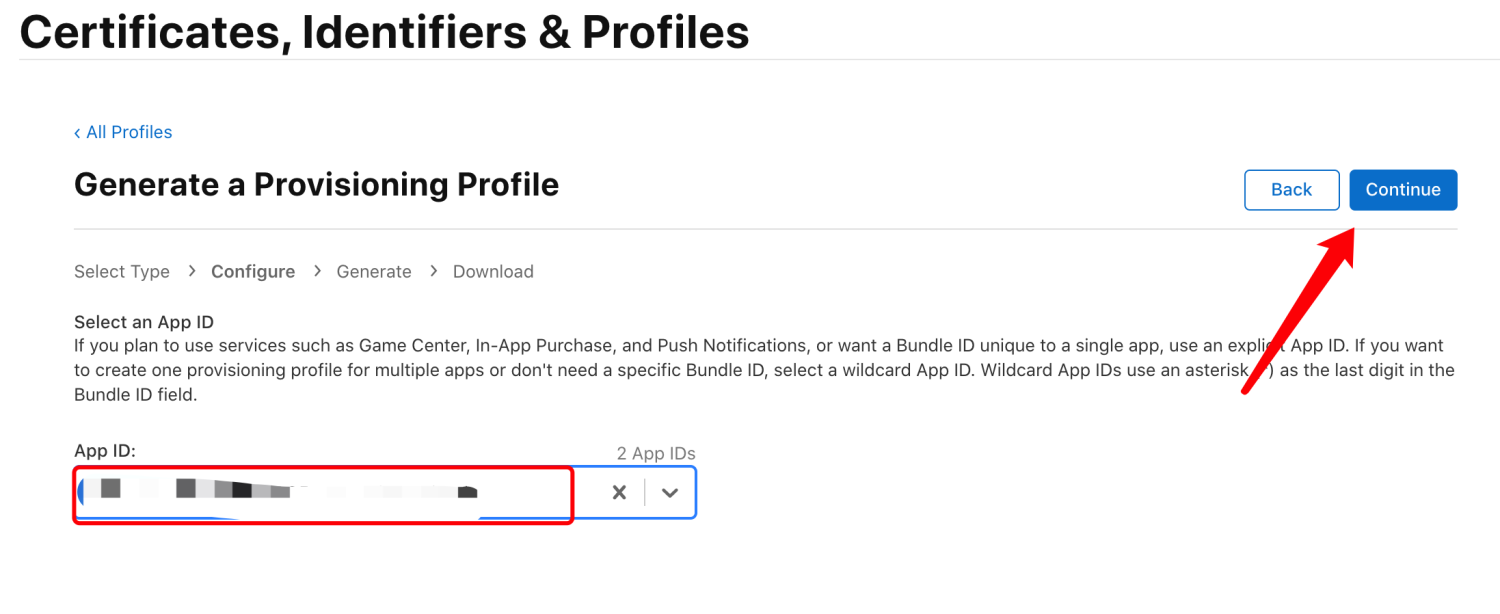
选择要创建Provisioning Profile的App ID后,点击Continue按钮:
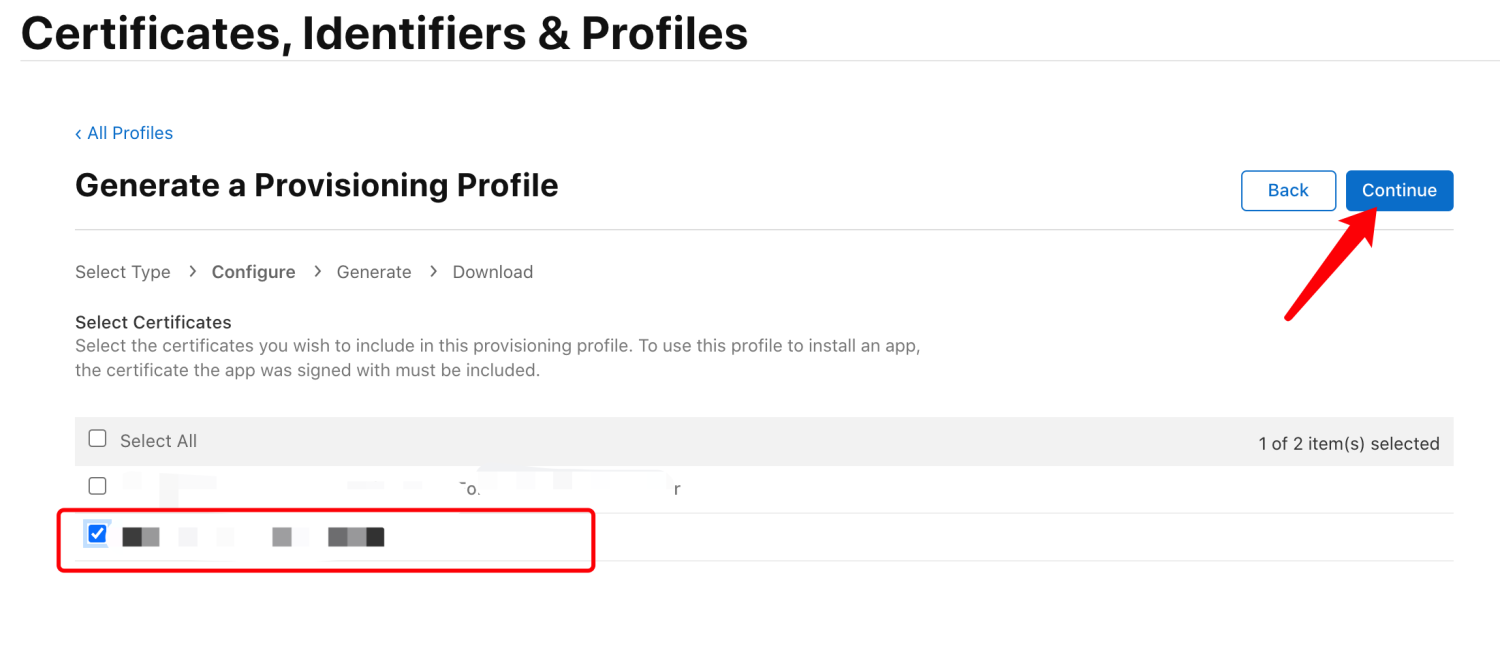
选择所属的开发者证书,(这里创建了多个开发者证书,建议只创建一个,方便管理)为了方便,选择了Select All,再点击Continue进入下一步:
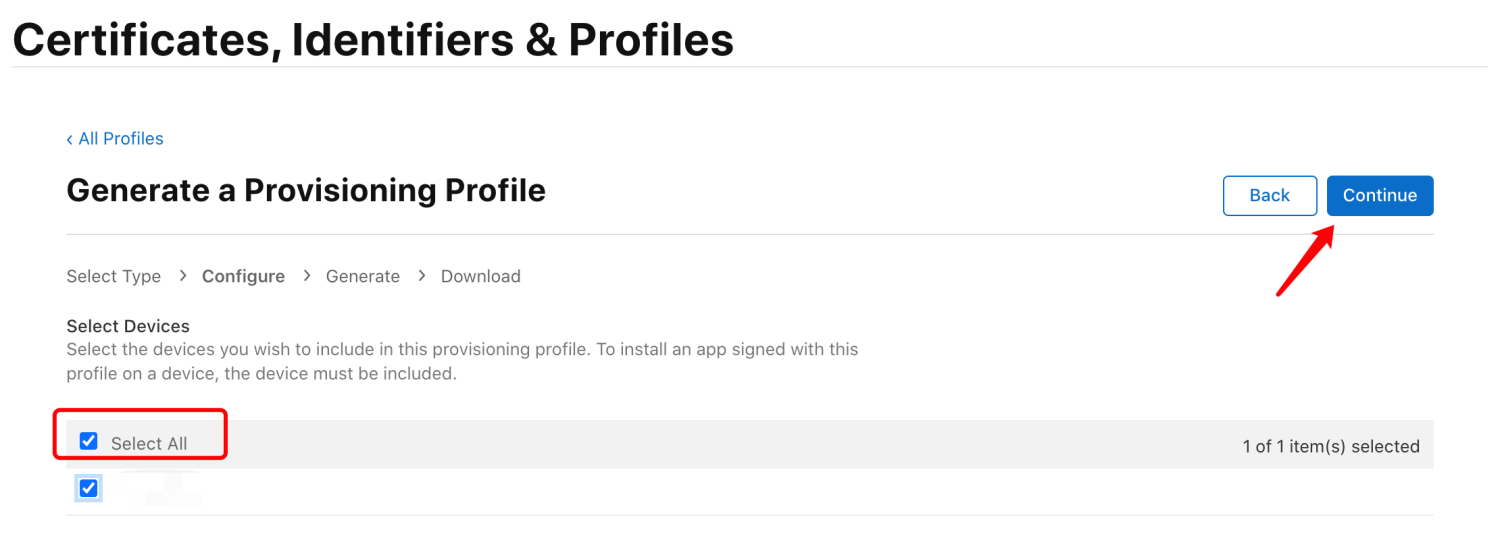
为该Provisioning Profile选择将要安装的设备(一般选择Select All),点击Continue。
注:App Store 或者 In House 默认所有设备。
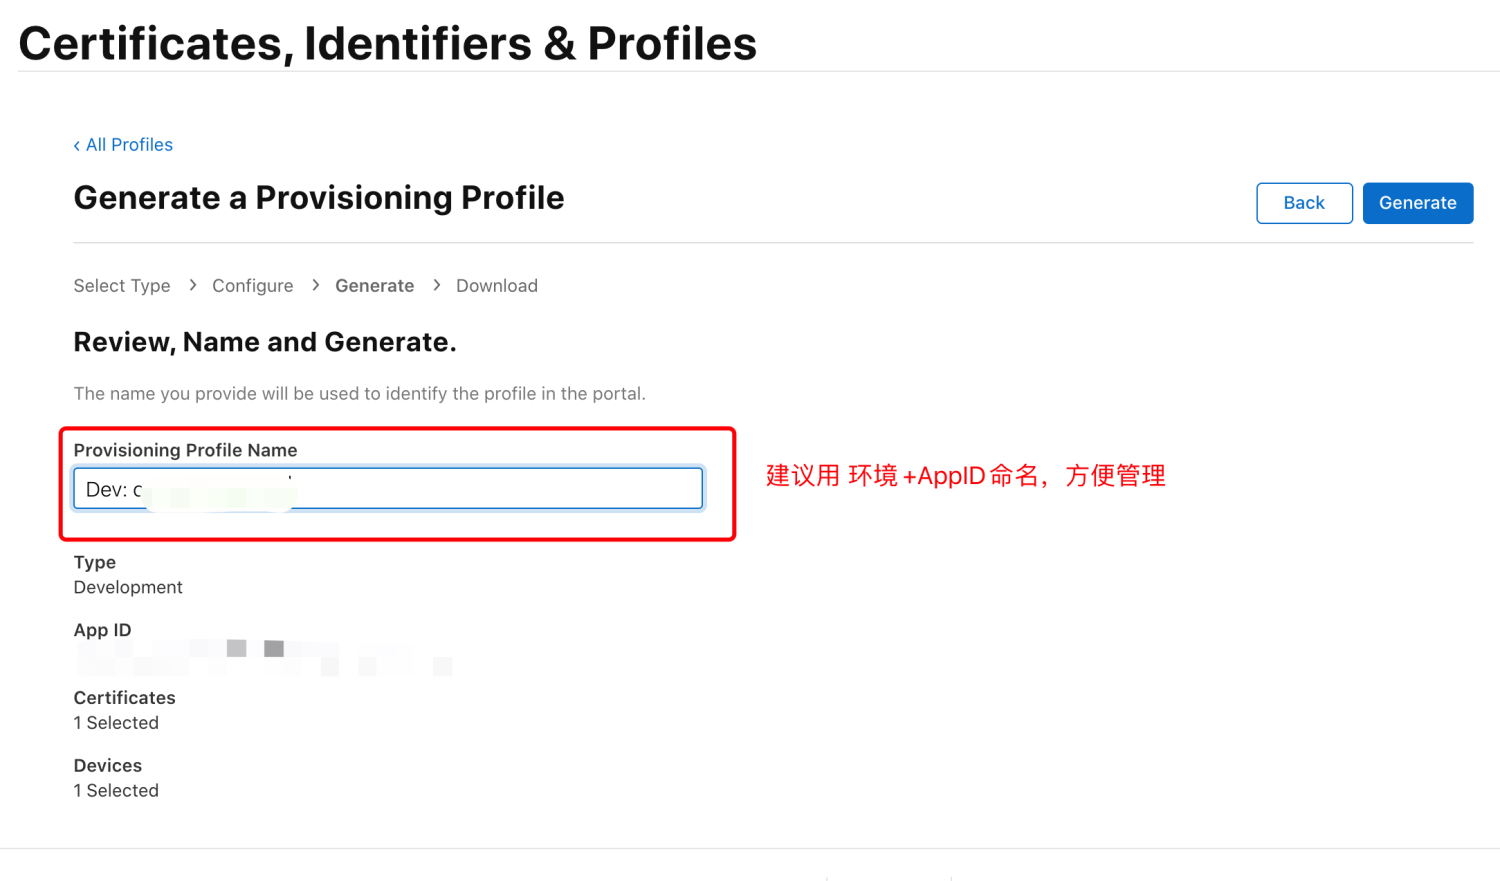
给该Provisioning Profile填写Profile Name,建议命名环境+AppID,点击generate完成创建。
创建成功后就能下载到本地了:
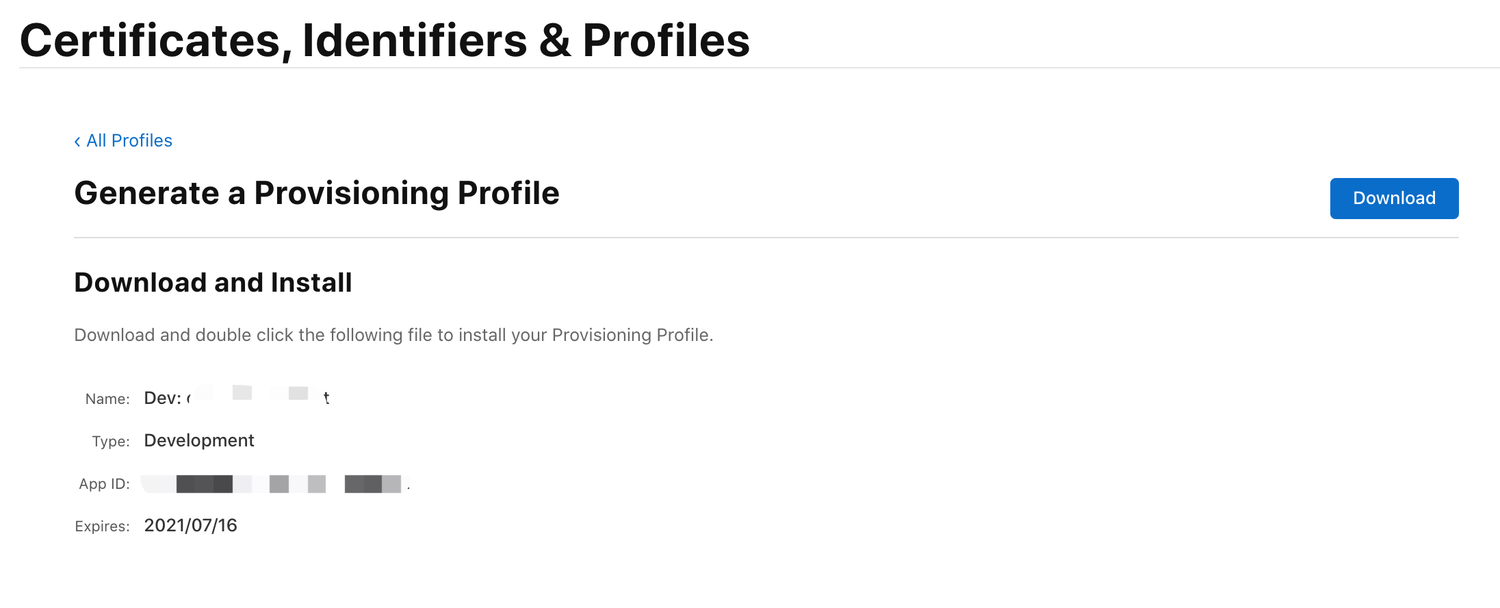
双击下载的Provisioning Profile文件,添加到Xcode,即可使用该AppID(Bundle ID)创建应用和进行真机调试。
六. 创建 App
进入 https://appstoreconnect.apple.com/apps 点击左上角「加号」来添加 app:
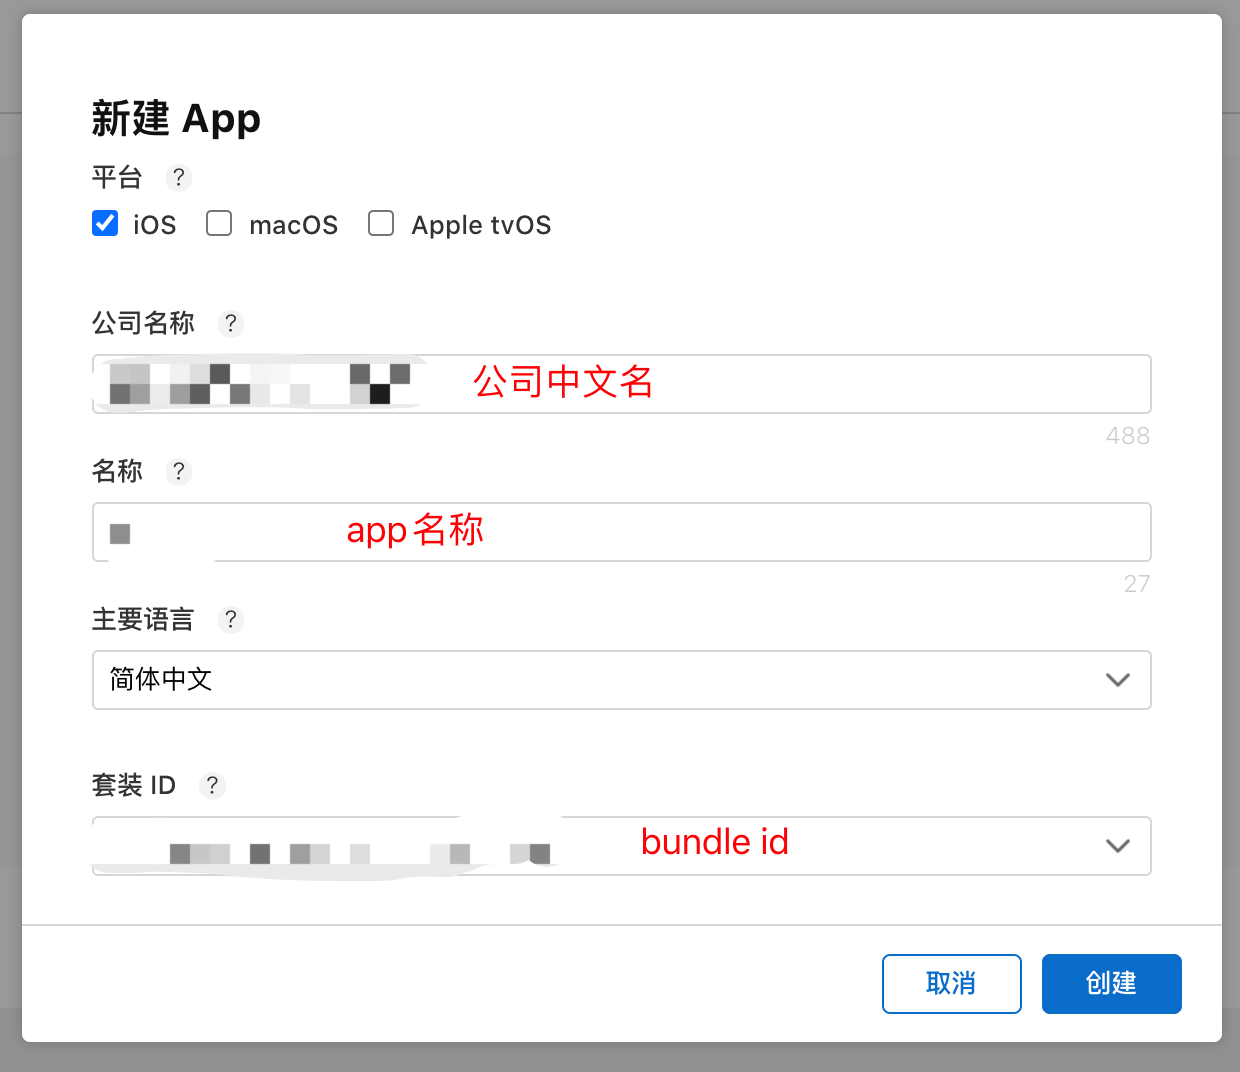
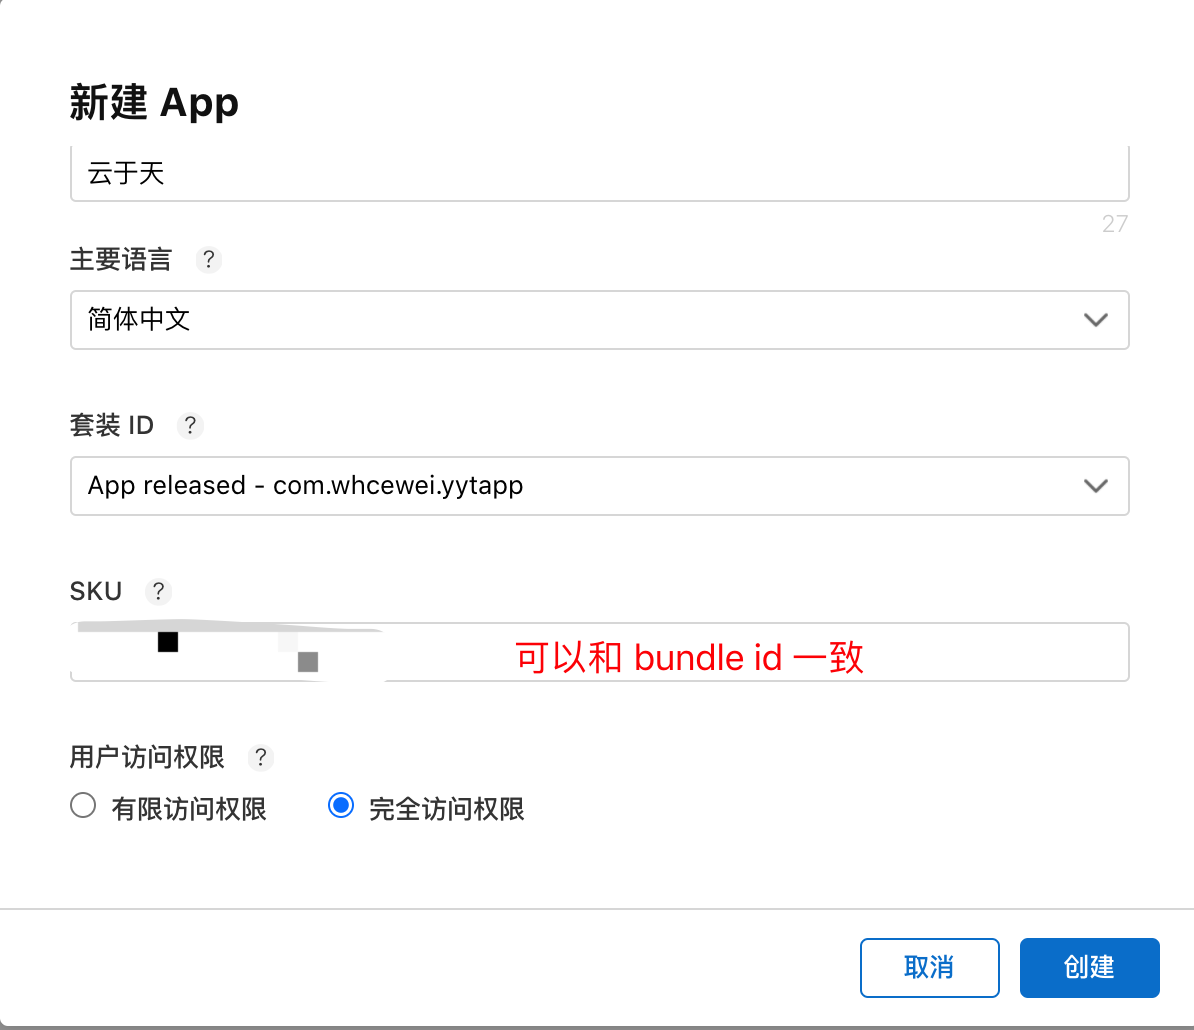
七. 发布 App 到 TestFlight
Xcode 选择「Generic iOS Device」:

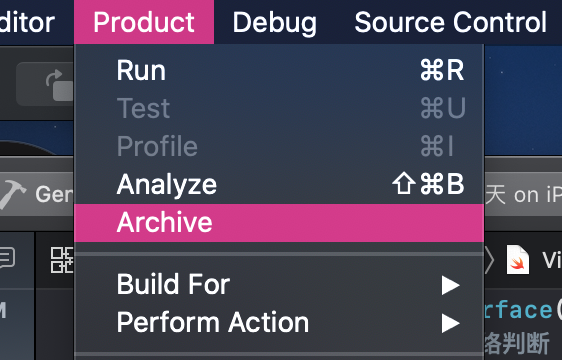
菜单「Product -> Archive」开始打包:
接着选择「Validate App」进行验证:
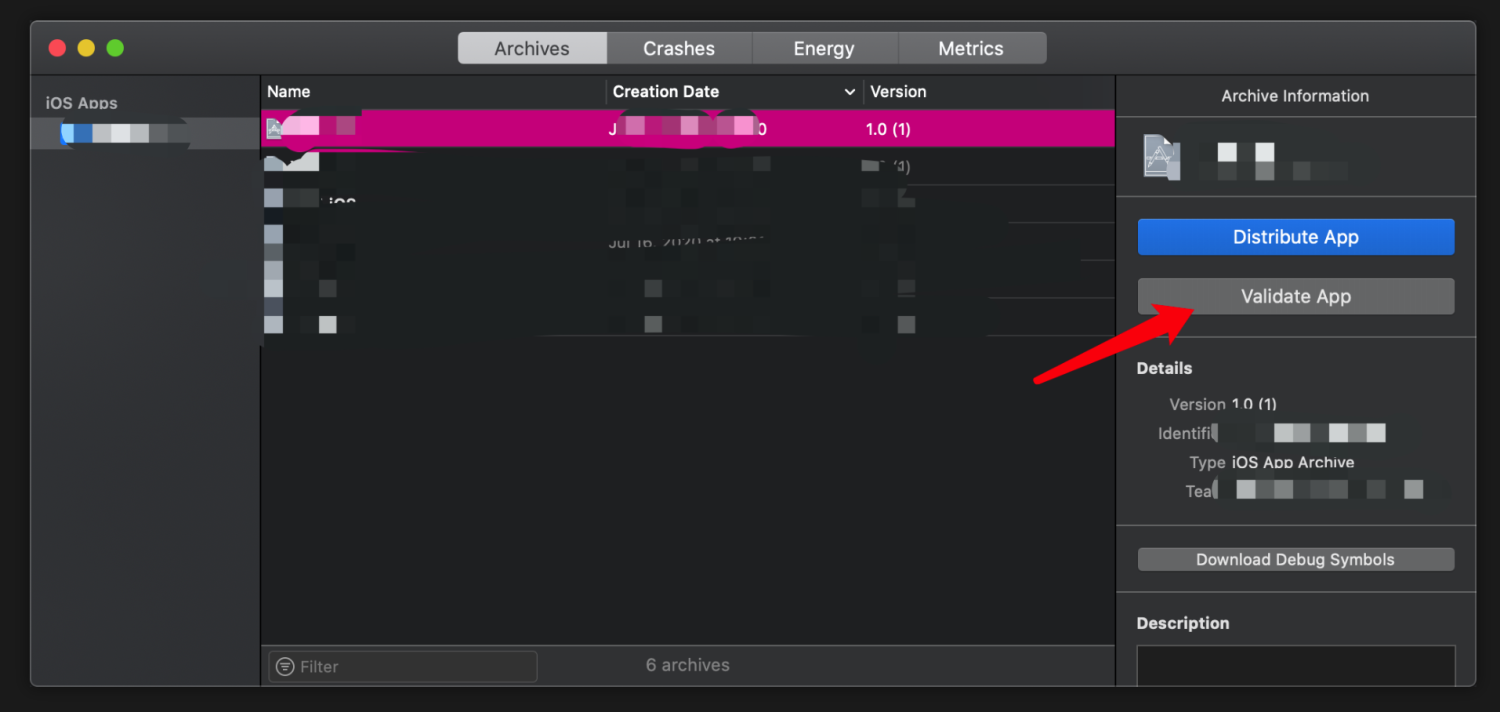
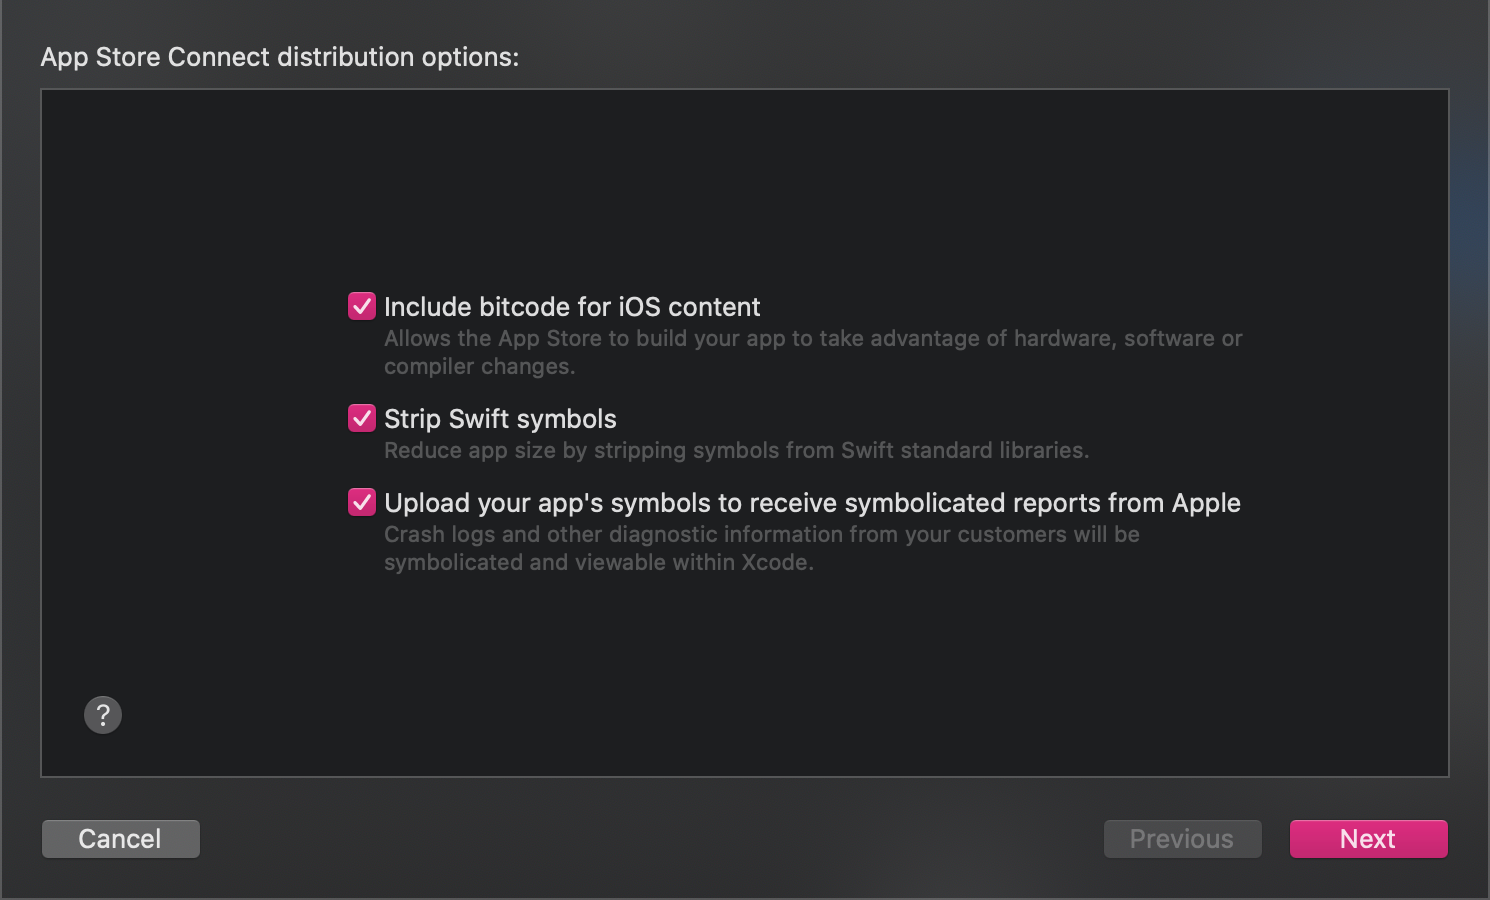
点「next」:
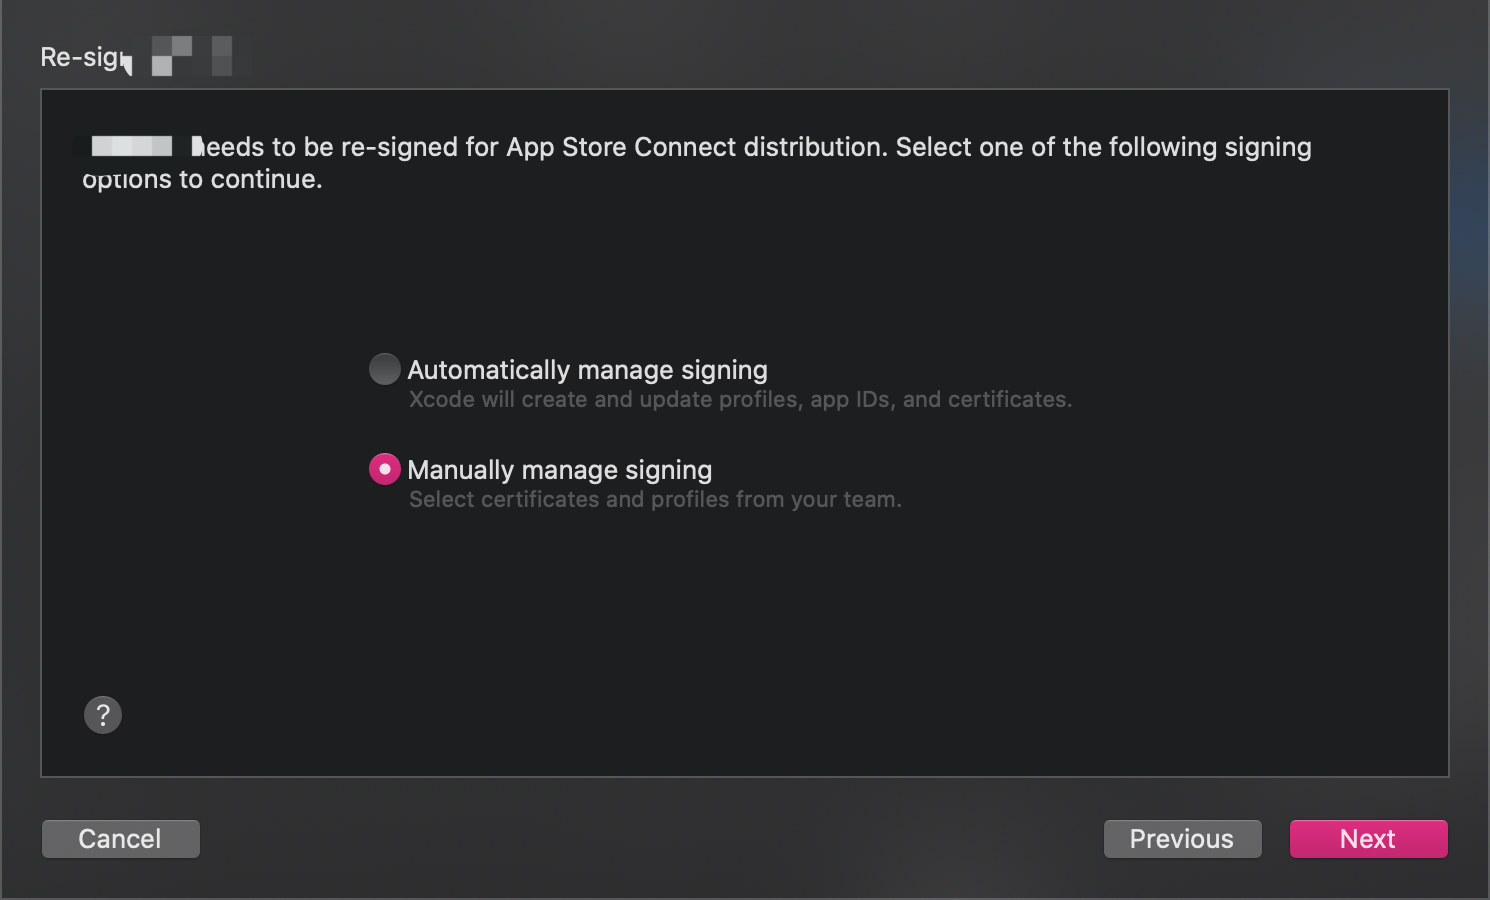
选择手动签名:
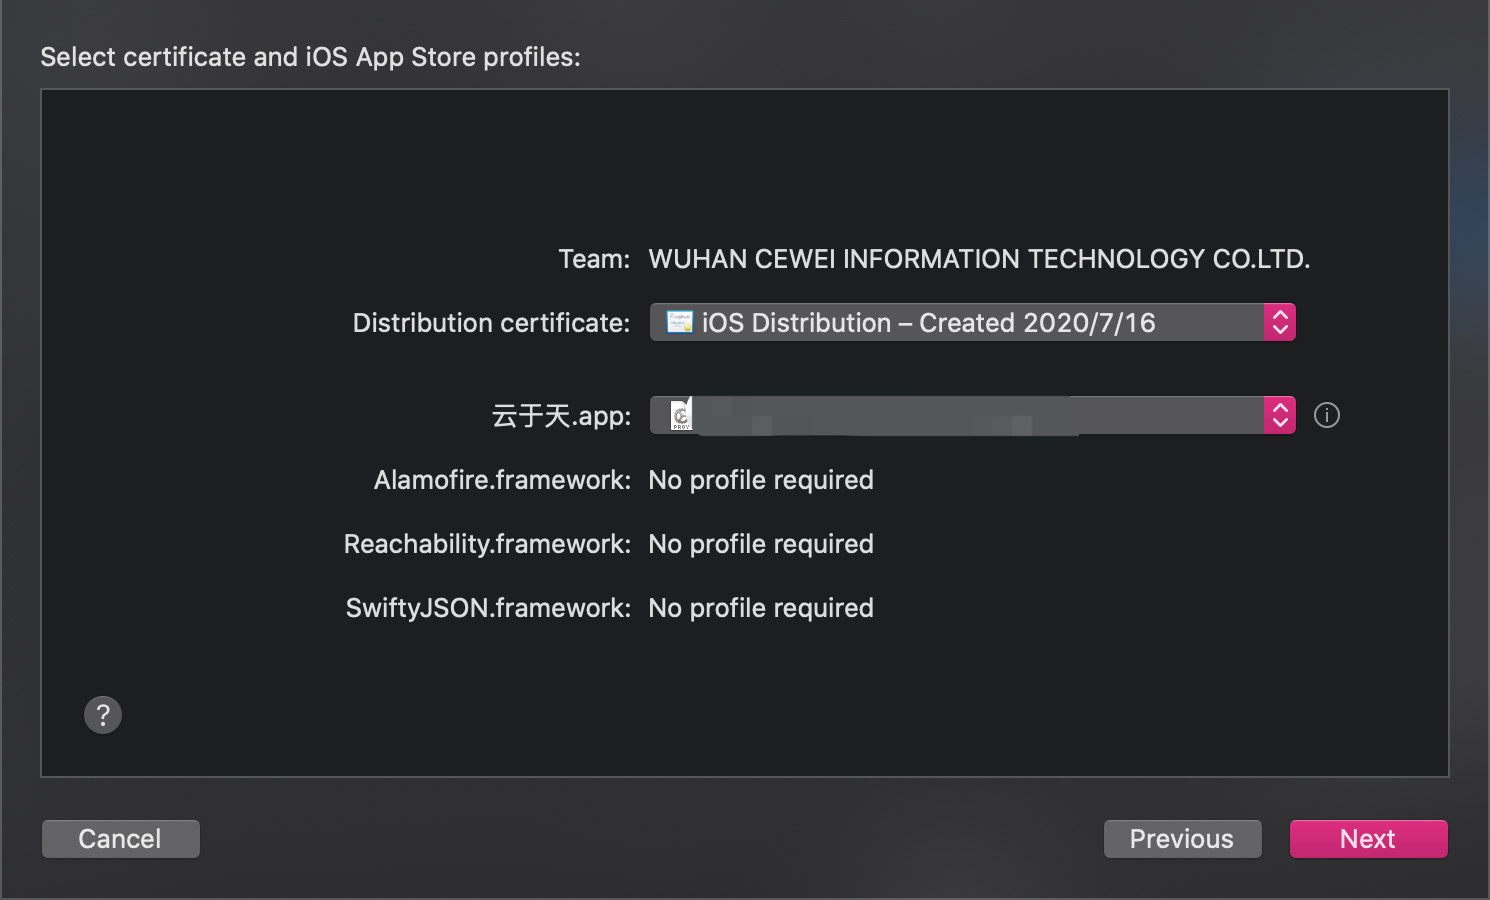
选择证书和 bundle id:
接着点「Next」进行验证:
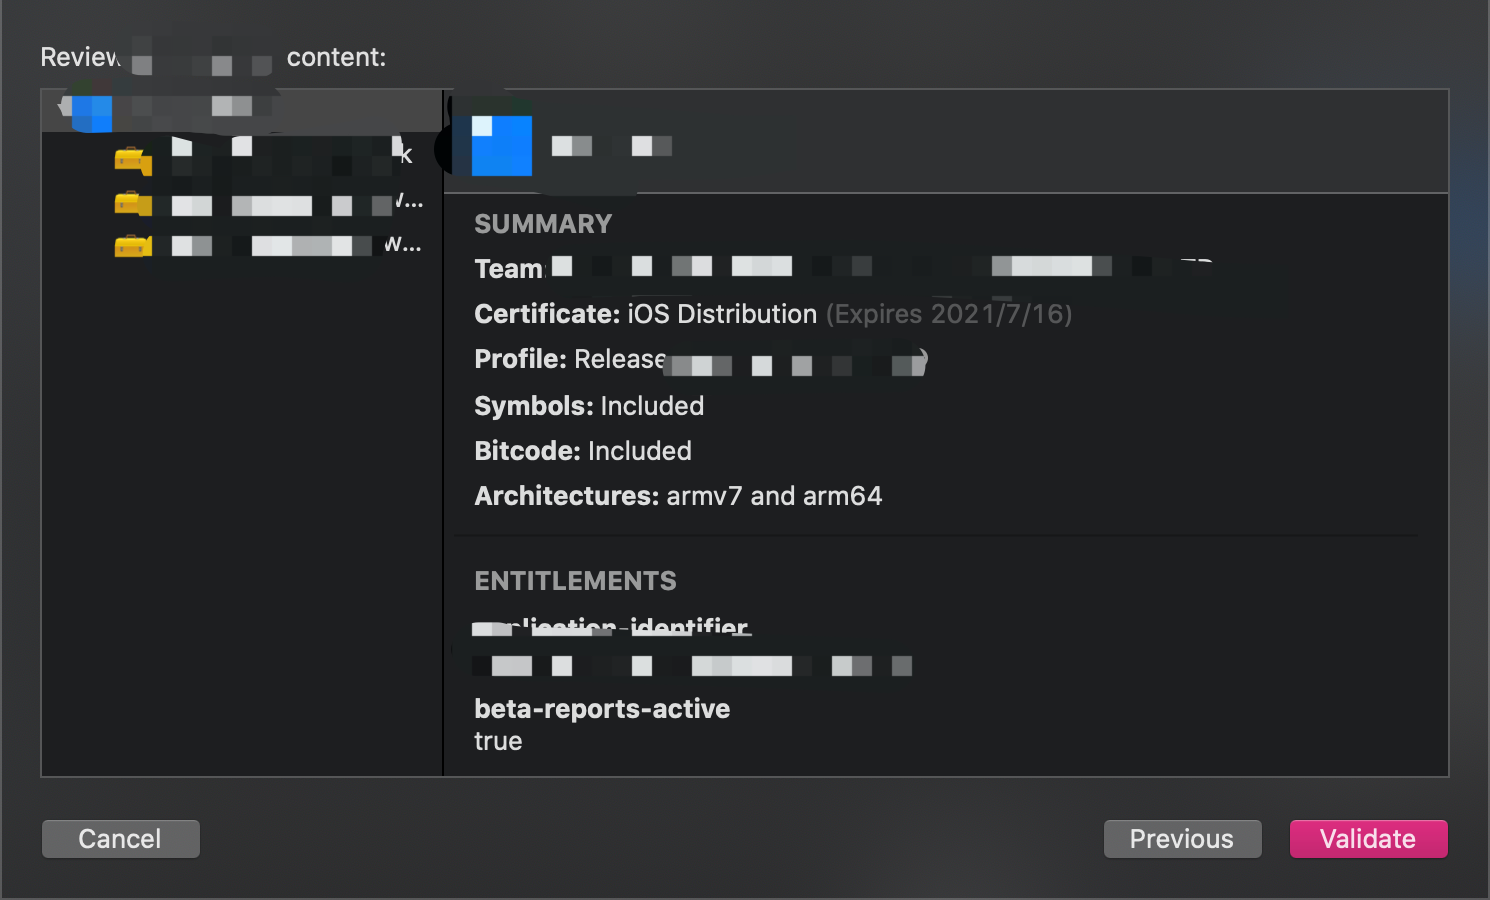
验证通过后就可以选择「Distribute App」分发 app 了:
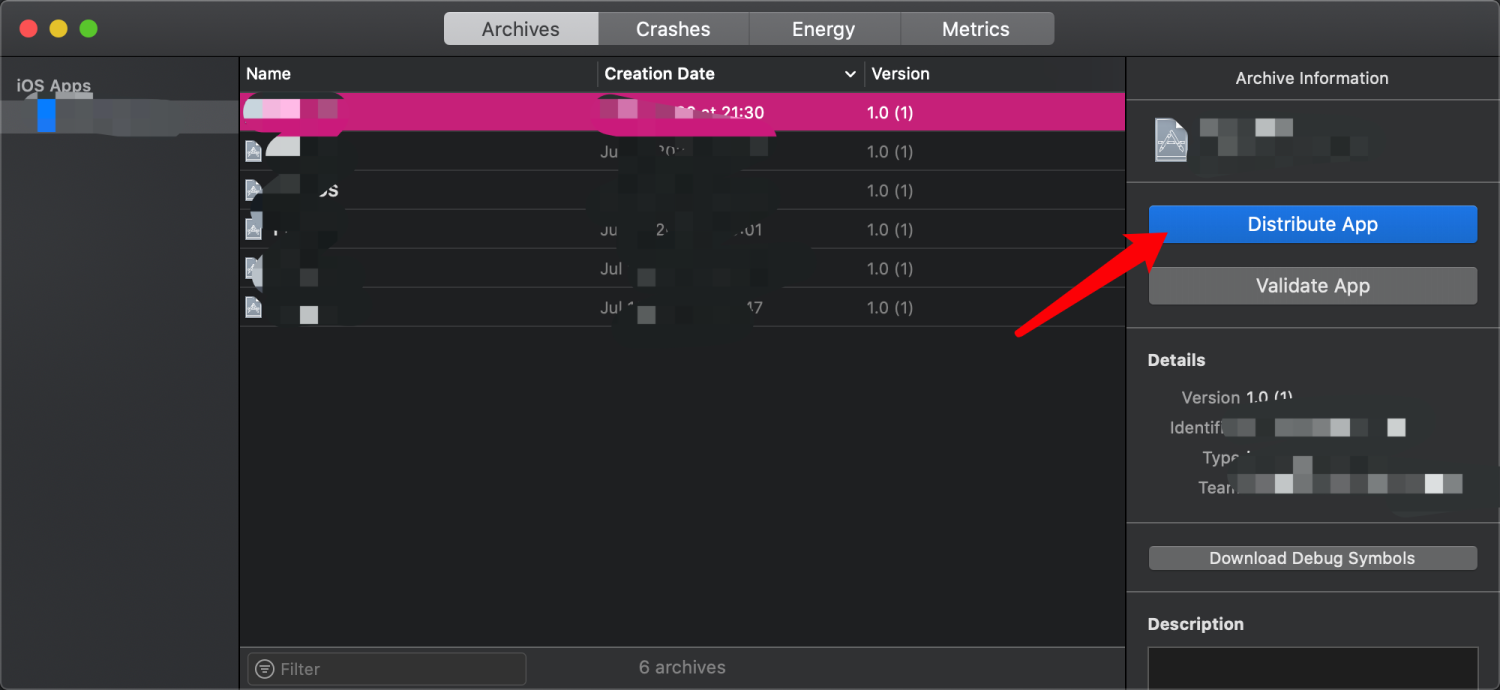
一路点击最后选择 upload 上传就好了。
接着来到:https://appstoreconnect.apple.com/apps 进入 TestFlight 查看你上传的 app:
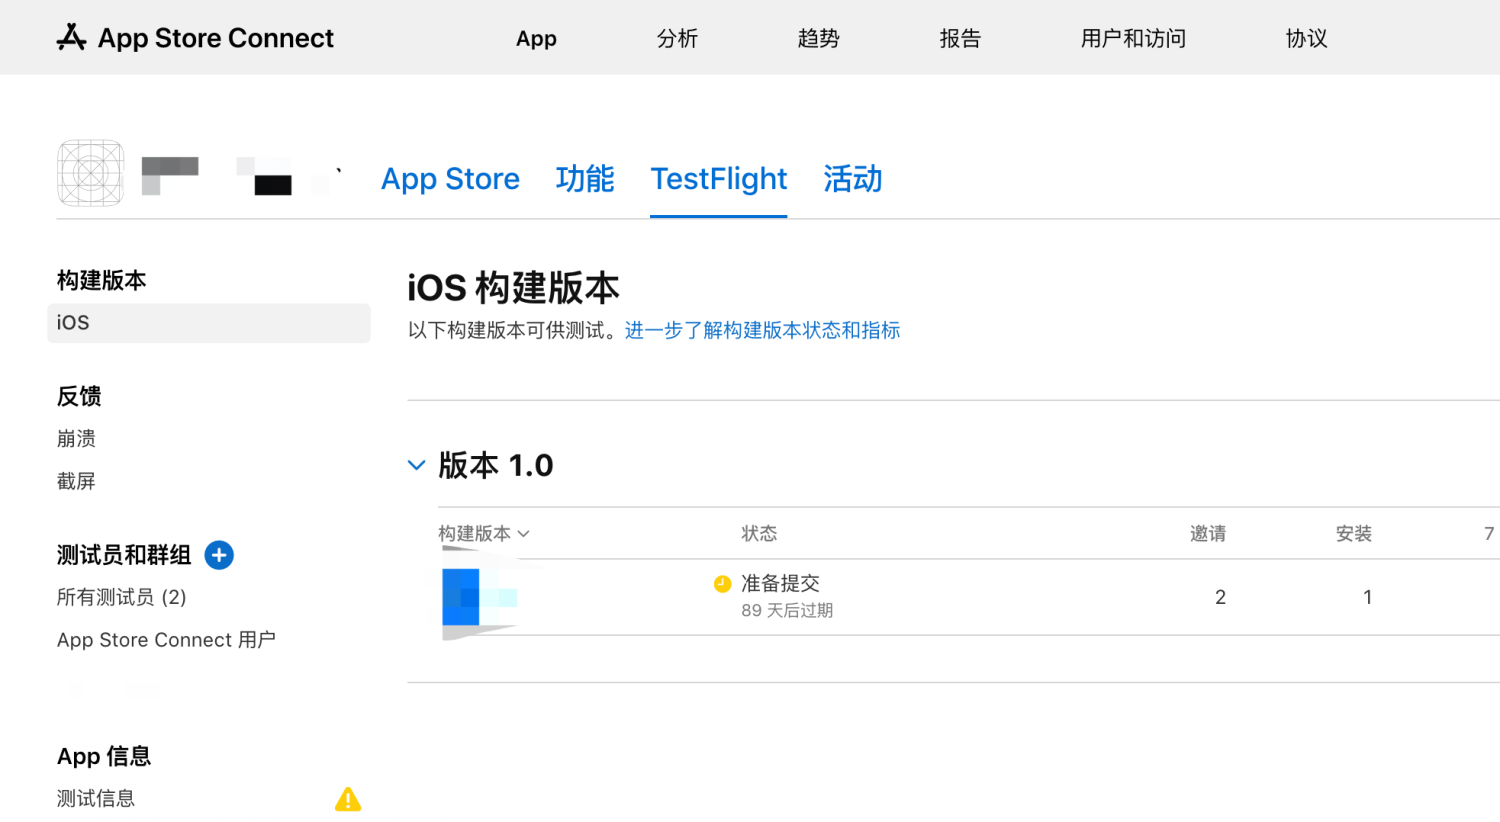
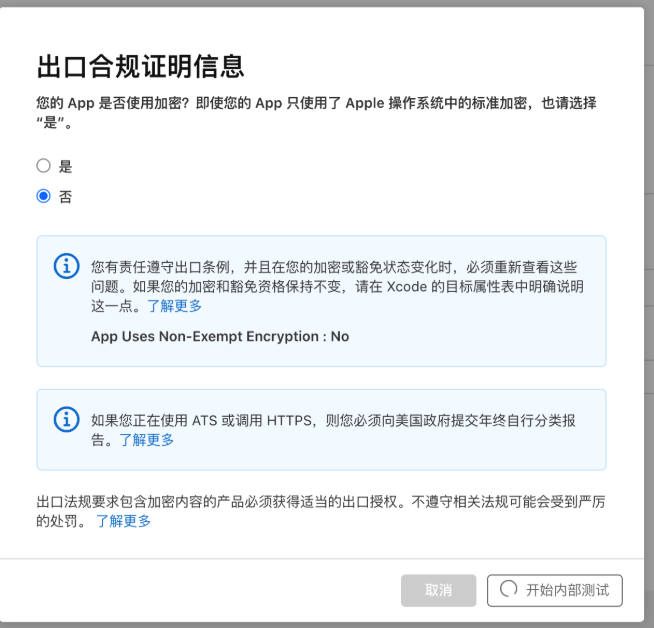
过一会有可能会出现状态变为如图所示:

点击管理选择否然后就可以开始内部测试了:
接着你可以在后台添加测试人员(邮箱):
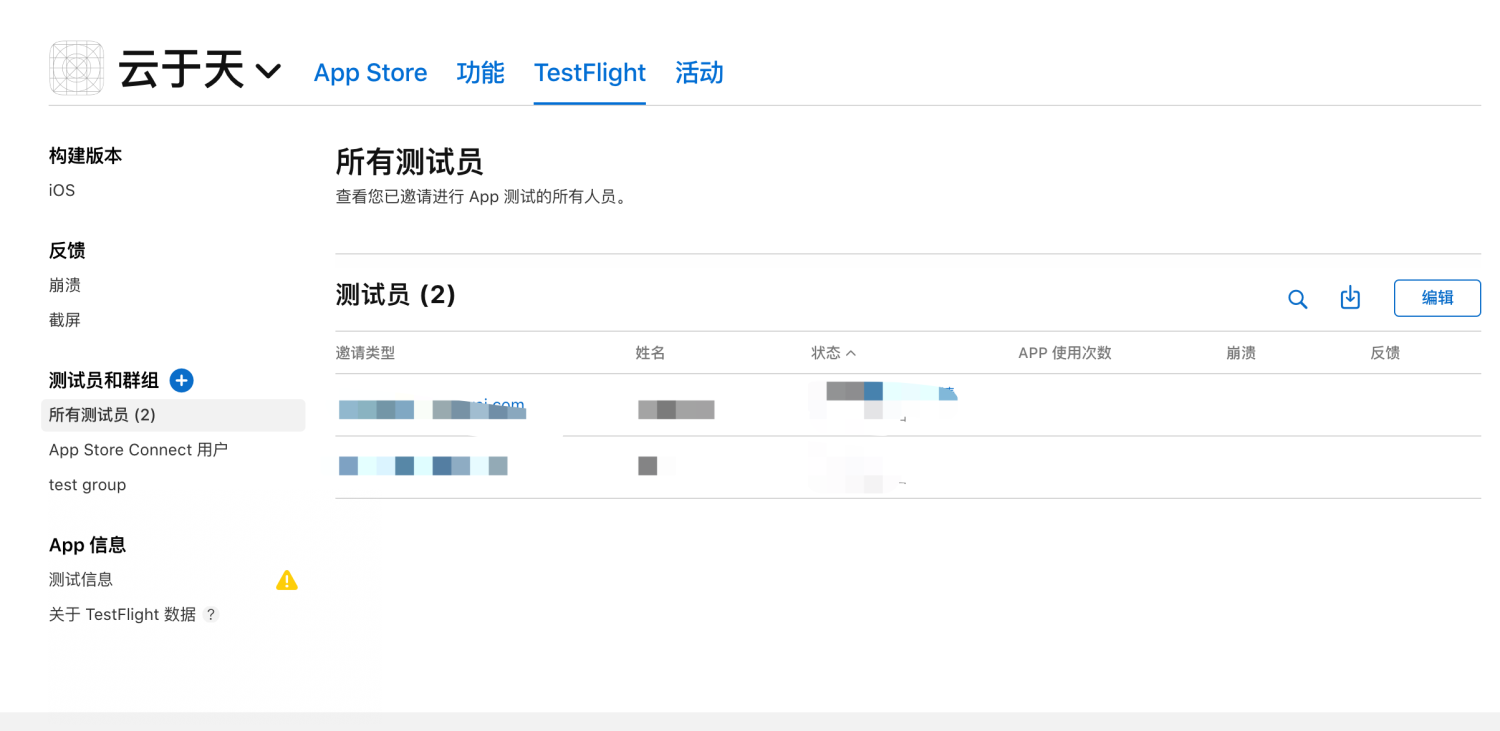
添加后你所添加的测试人员的邮箱就会收到一封邀请,打开邮件,您会看到一个 TestFlight 前往的按钮,点一下,就会弹出来一个对话框,里面有一个邀请码,拷贝。
然后在手机上的 TestFlight “兑换”,帖上您的邀请码,确认。
然后就可以看到待安装的 App 了,安装,打开,输入账号密码,开启测试。
十. 附录
证书(Certificate)与描述文件(Provisioning Profiles)
证书:
证书是用来给应用程序签名的,只有经过签名的应用程序才能保证他的来源是可信任的,并且代码是完整的, 未经修改的。在 Xcode Build Setting 的 Code Signing Identity 中,你可以设置用于为代码签名的证书。
.p12:
因为直接从 Apple 下载的证书只有公钥,没有私钥。没办法证明这个证书是你的(没有办法证明你有这个权利)。而从本地钥匙串中导出的.p12 文件是包含公钥和私钥的,也就是说可以把证书上描述的权利赋予他人。
描述文件:
描述文件里包含了 App ID , Certificates (证书), Devices(设备)。 说明生成描述文件需要用到这些信息。我们要打包或者在真机上运行一个应用程序,首先需要证书来进行签名,用来标识这个应用程序是合法的、安全的、完整的等等。然后需要指明它的 App ID,并且验证 Bundle ID 是否与其一致。再次,如果是真机调试,需要确认这台设备能否用来运行程序。而 Provisioning Profile 就把这些信息全部打包在一起,方便我们在调试和发布程序打包时使用,这样我们只要在不同的情况下选择不同的 profile 文件就可以了。而且这个 Provisioning Profile 文件会在打包时嵌入.ipa 的包里。