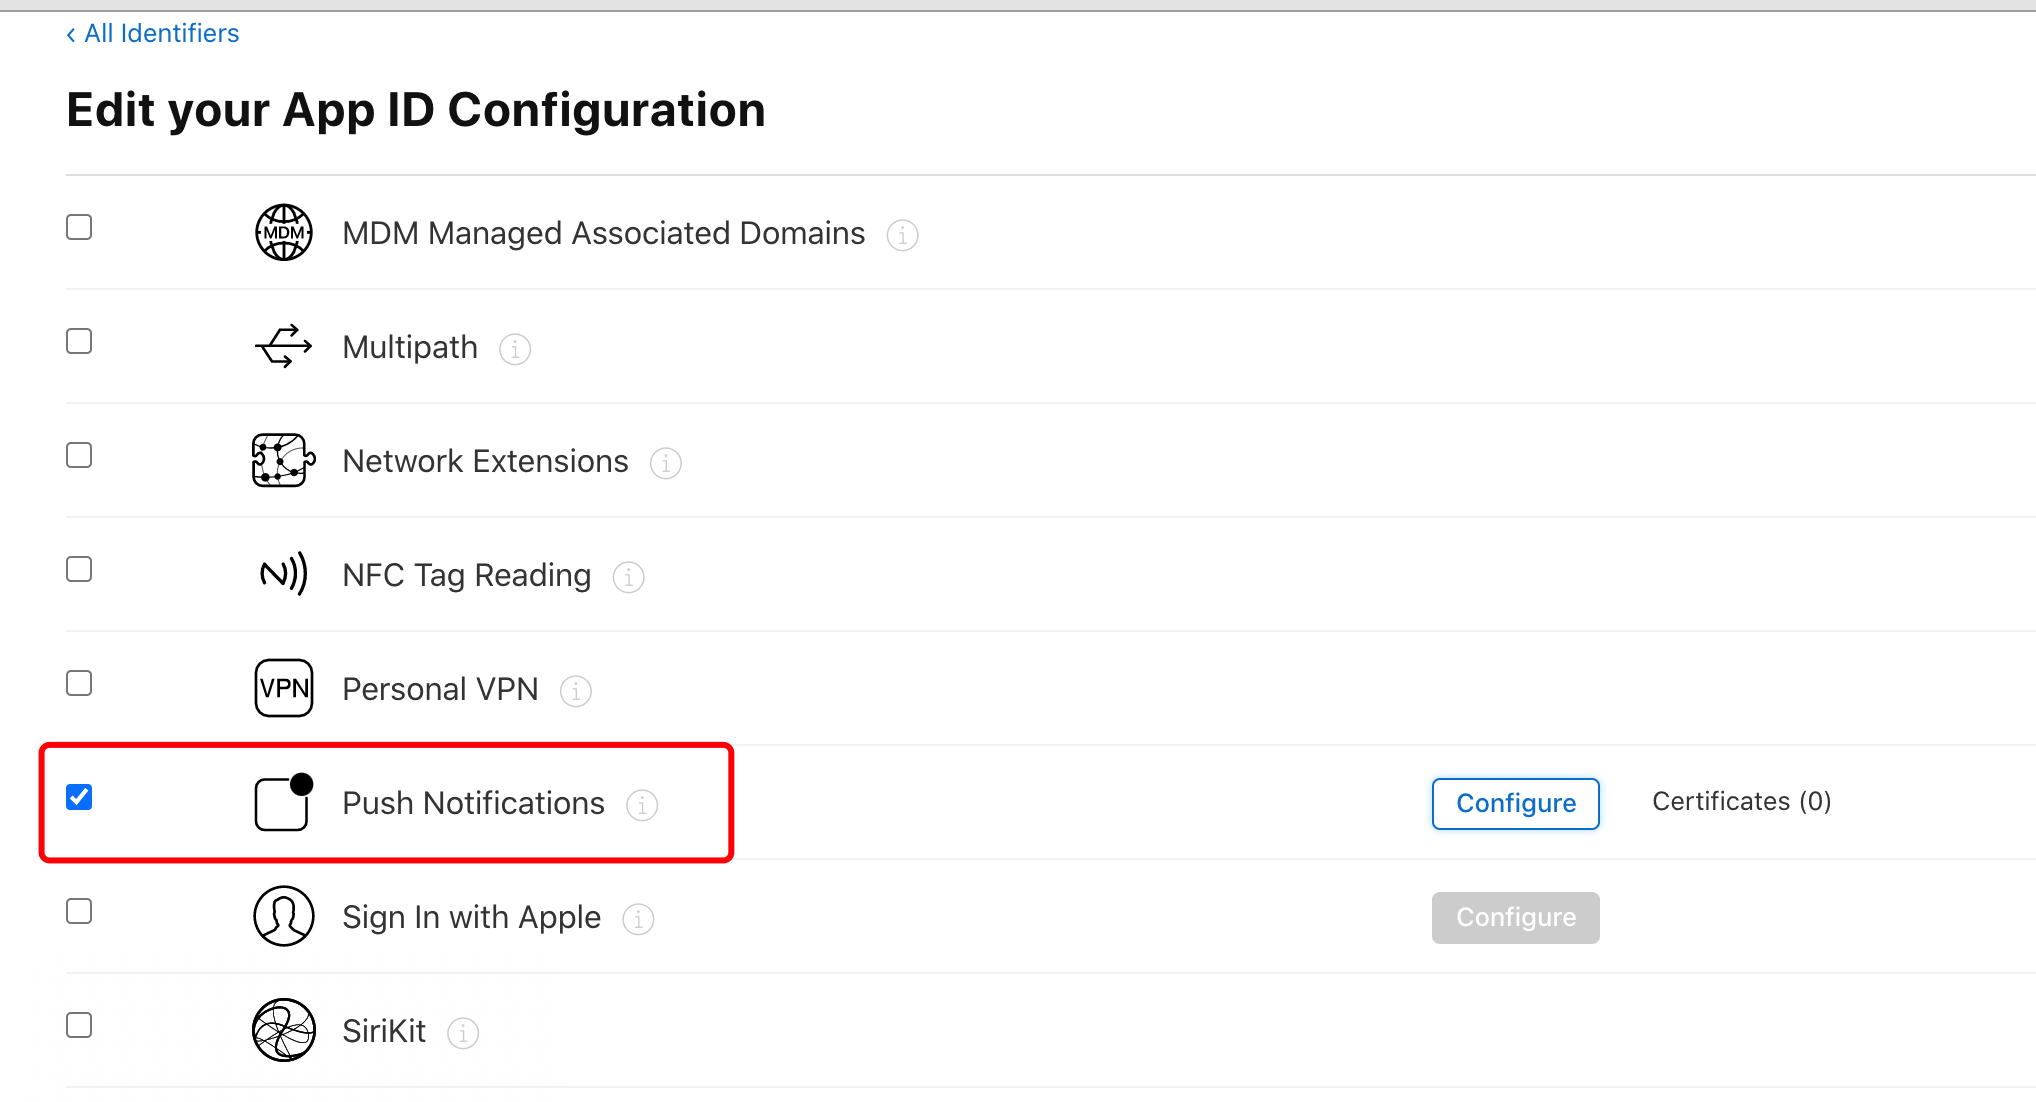
苹果证书设置 开启 Push Notification 功能 找到你 App 的 id:
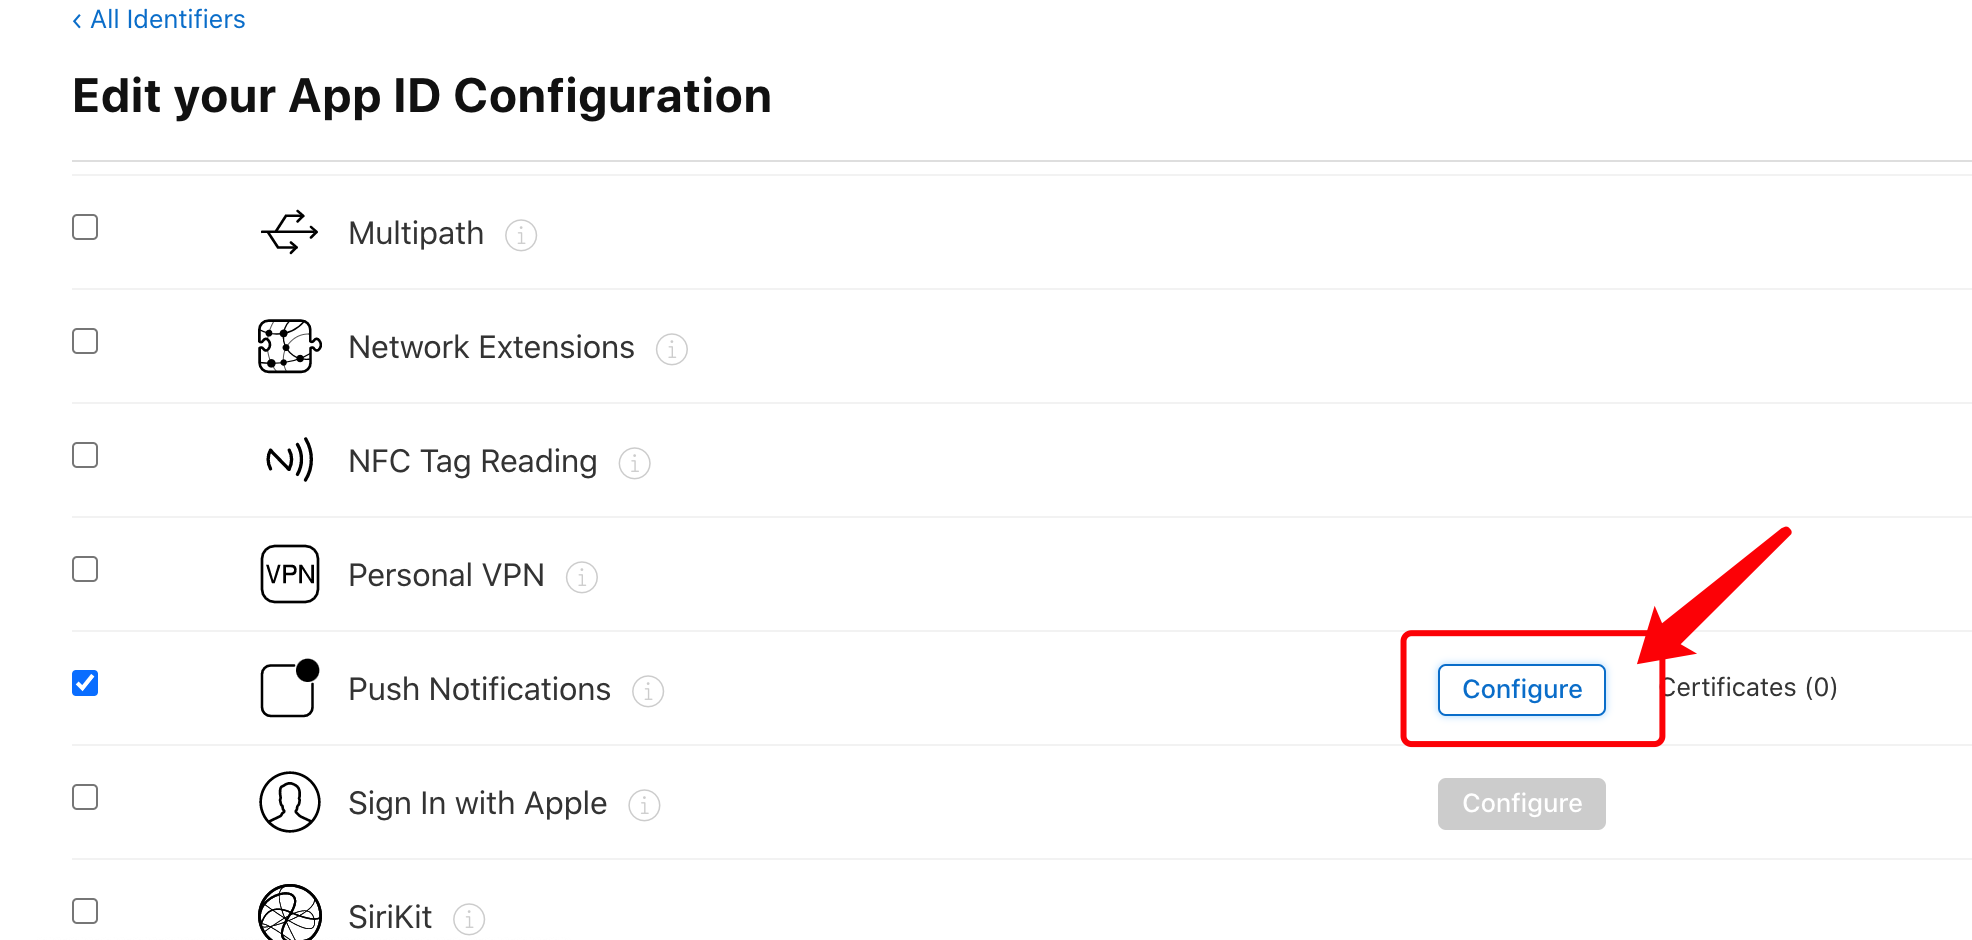
开启消息推送:
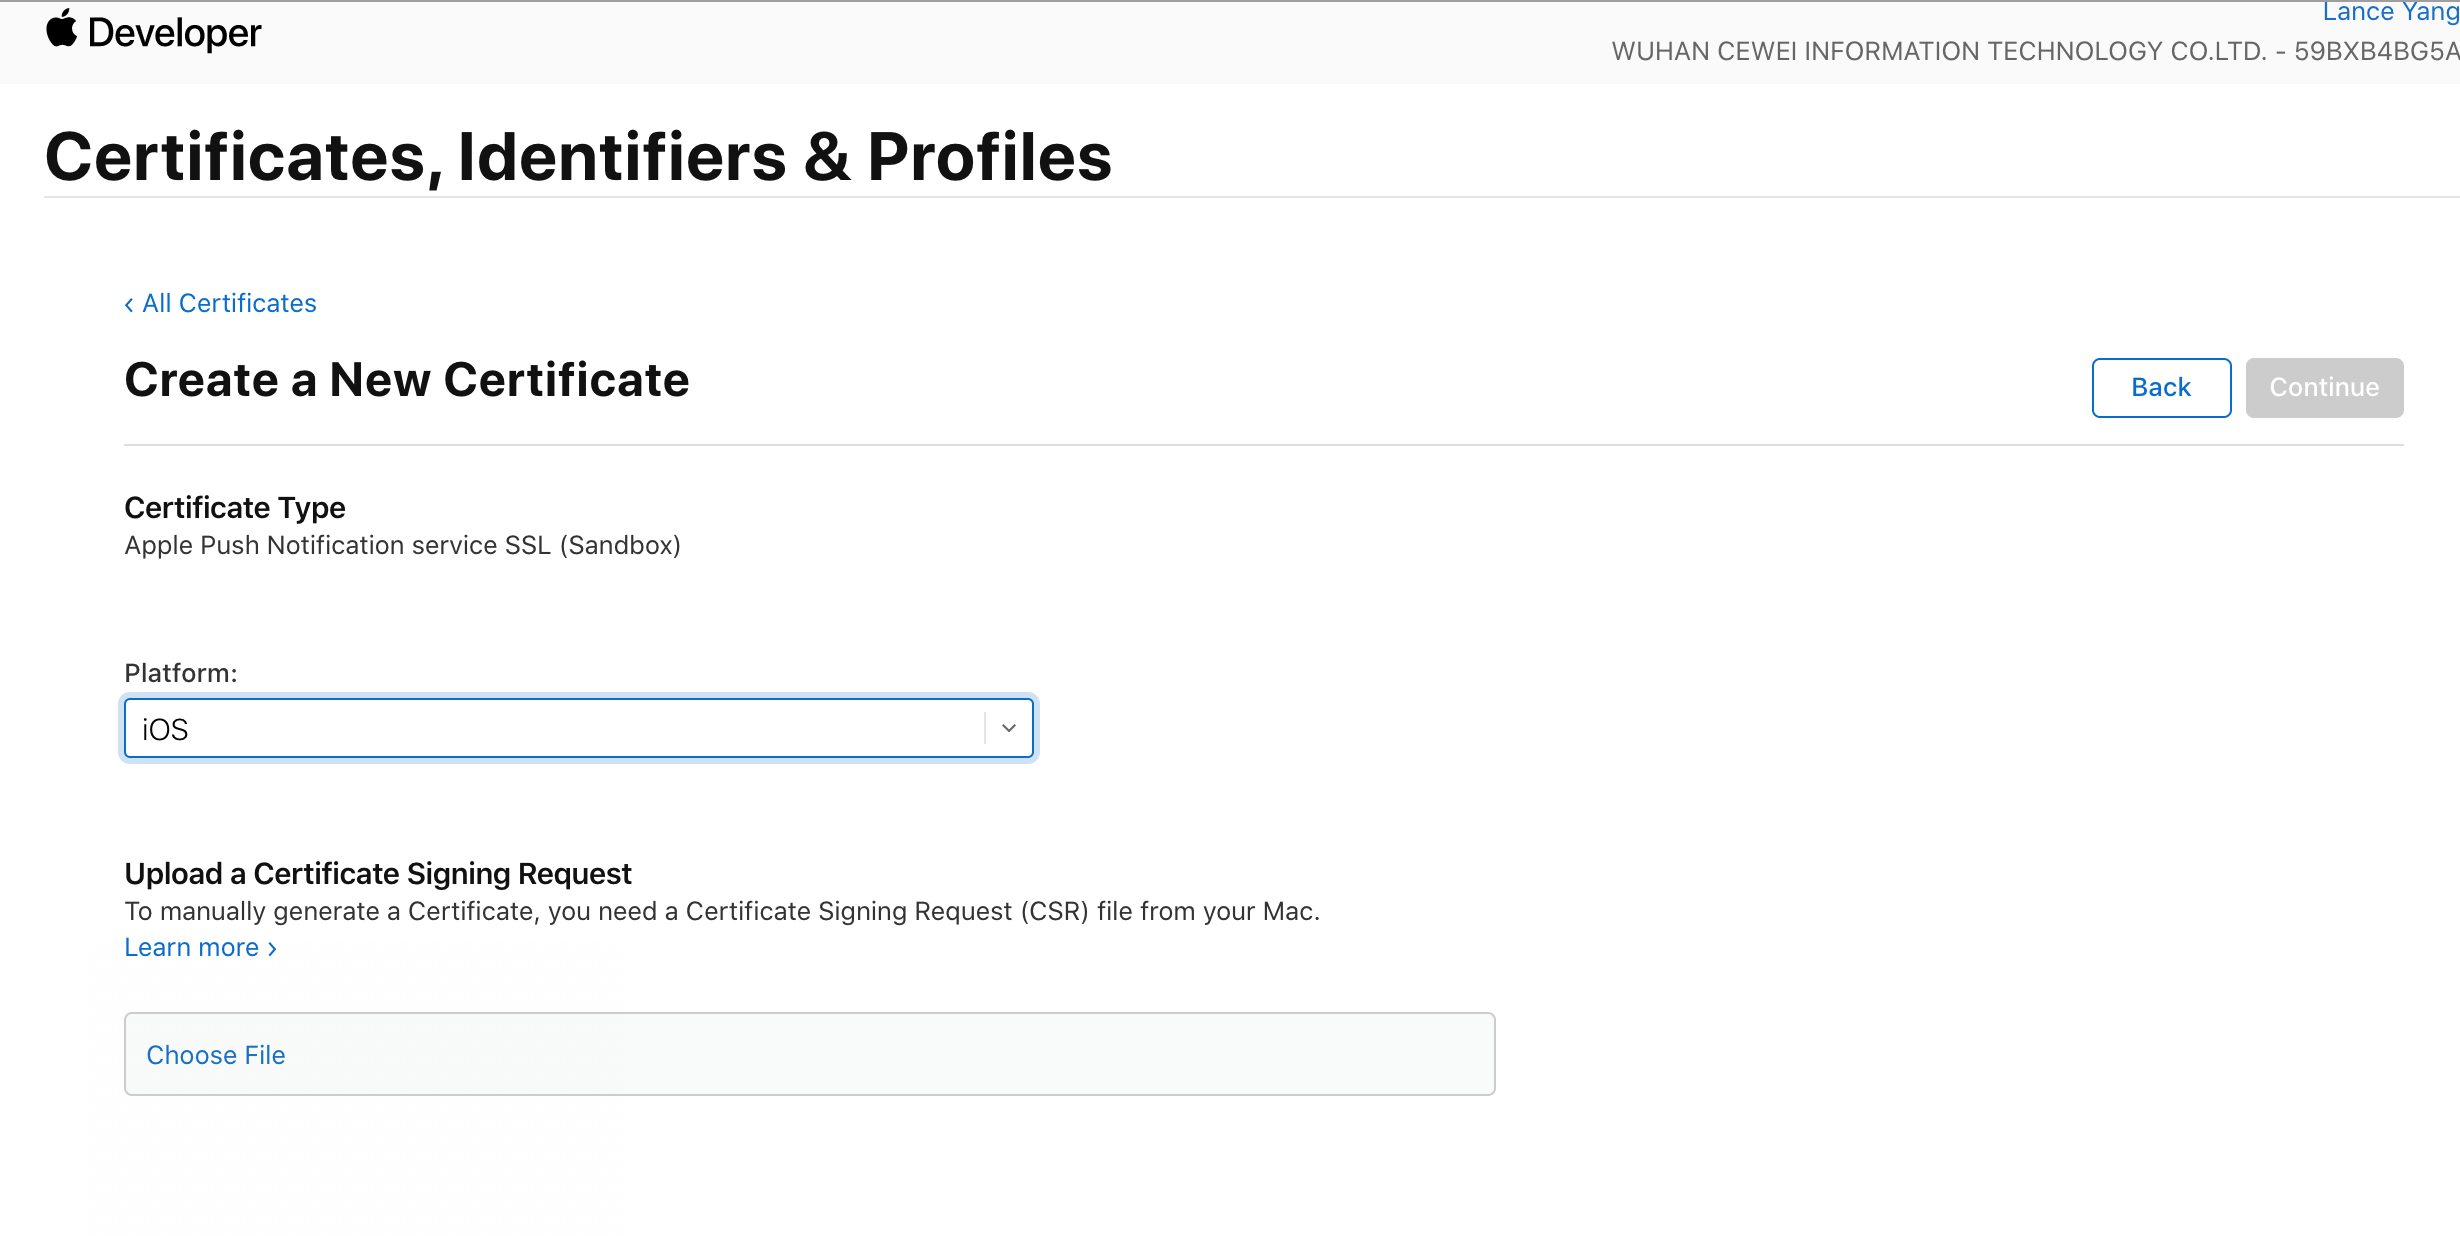
配置消息推送 点击 Development SSL Certificate 创建证书:
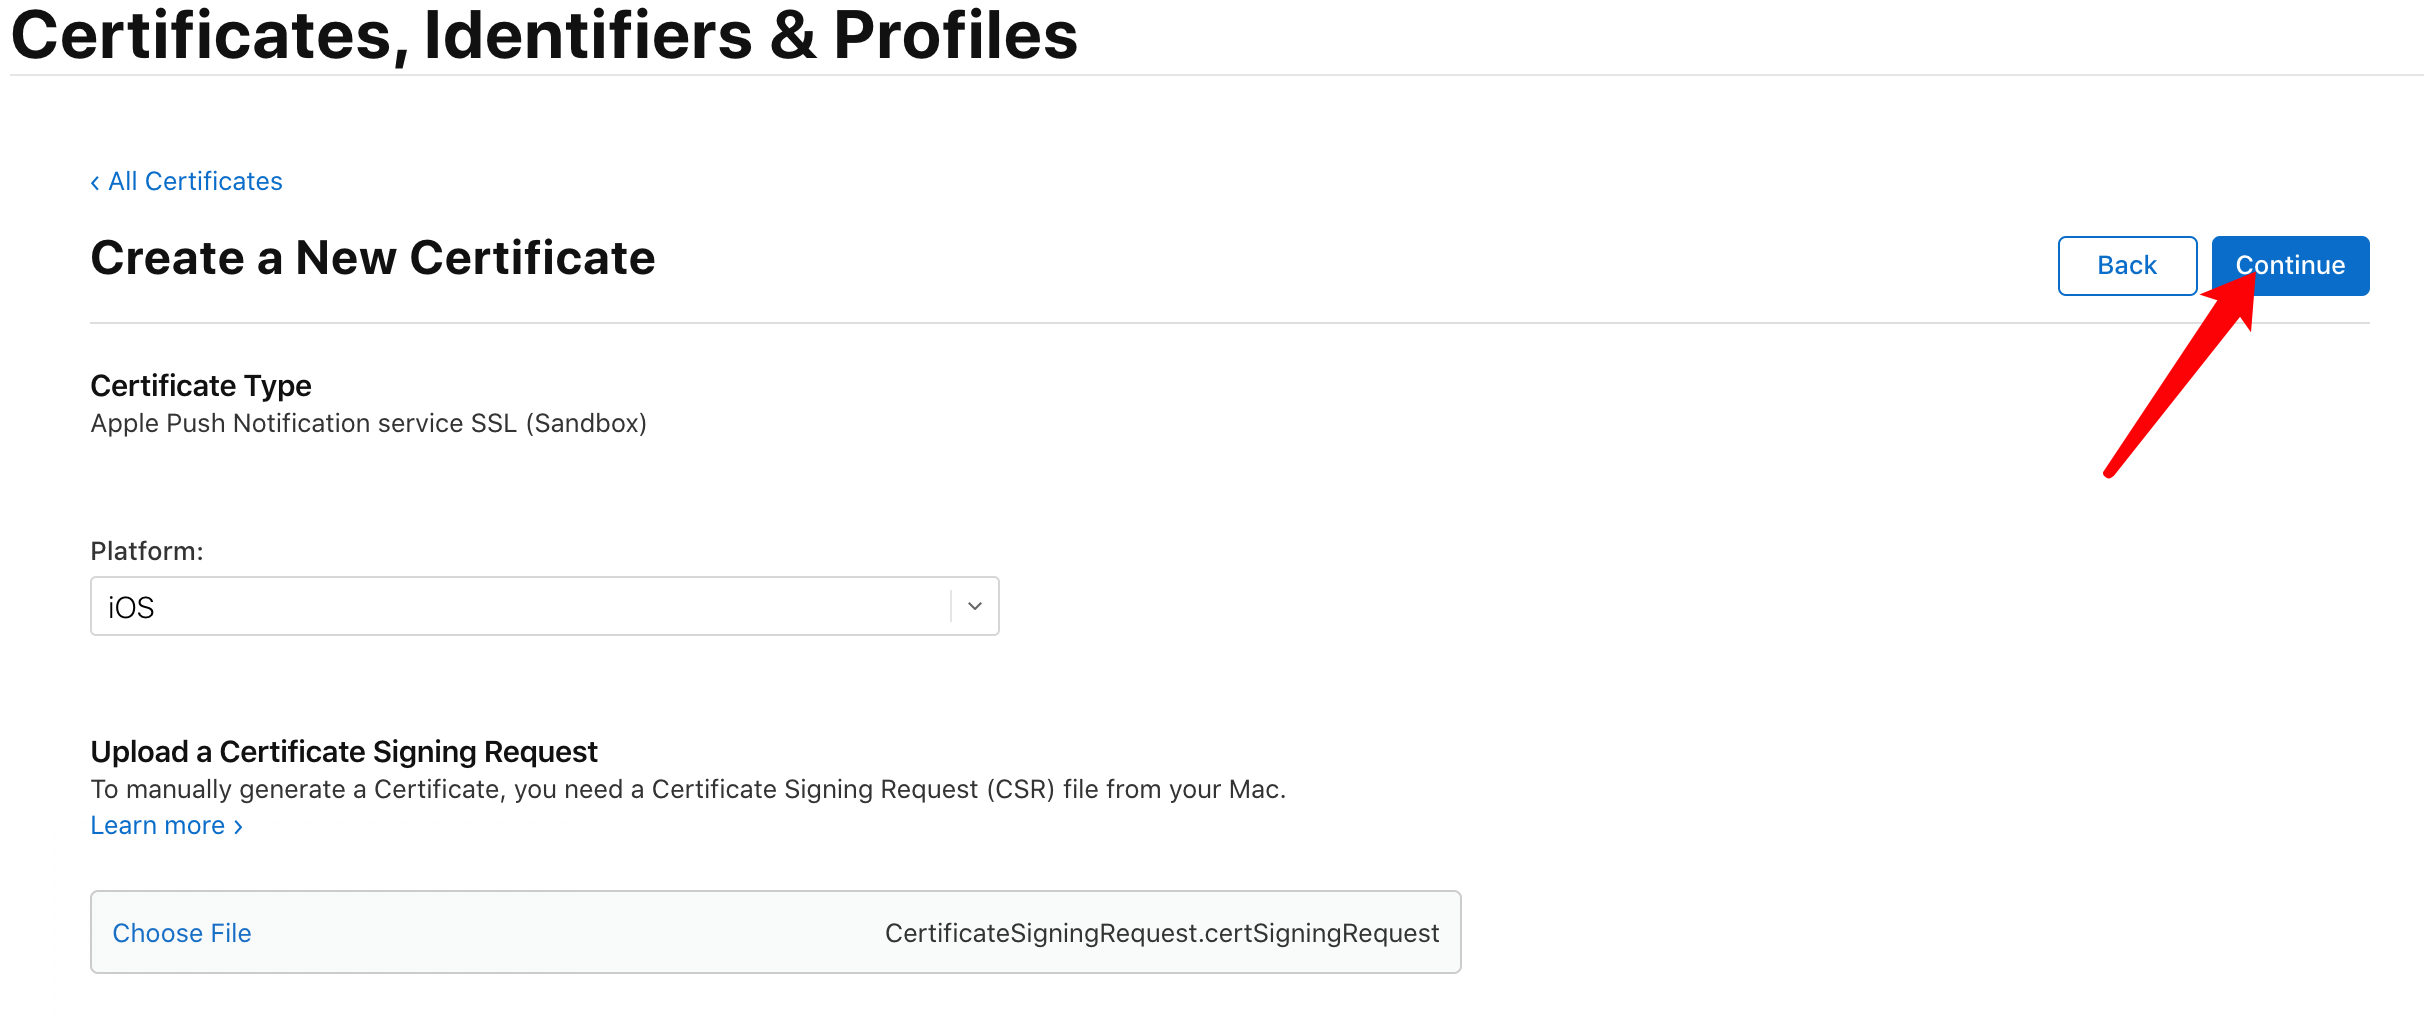
上传 csr 文件点击继续:
开发推送证书配置完毕:
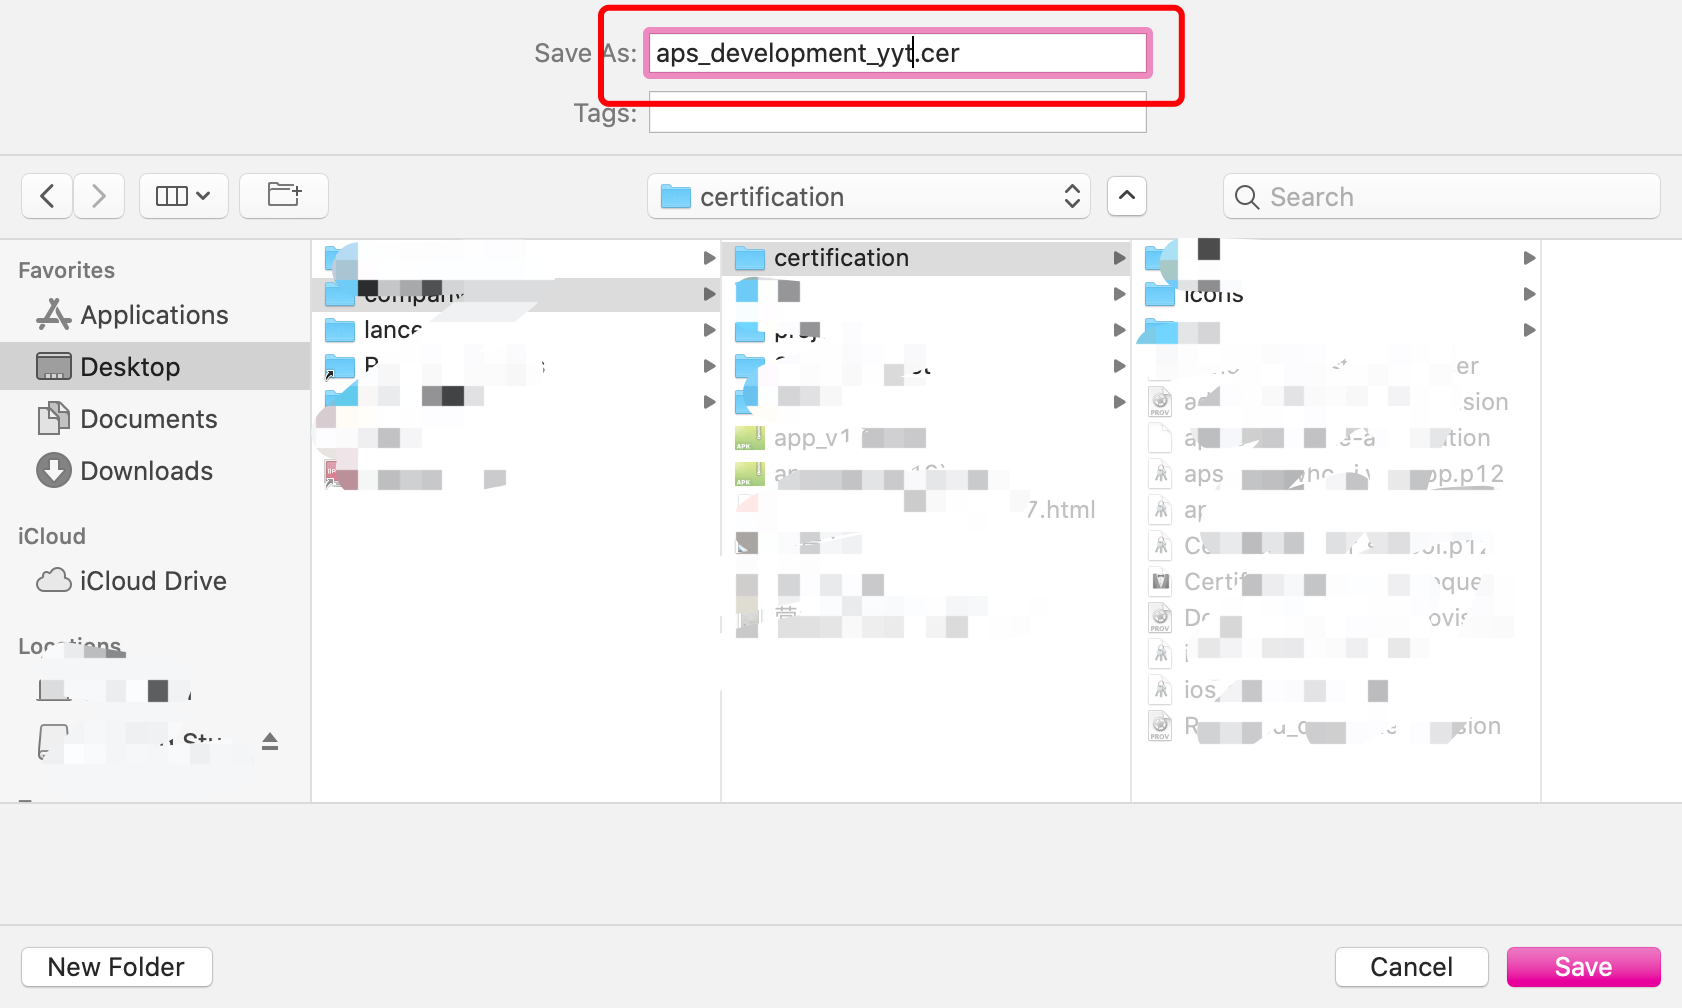
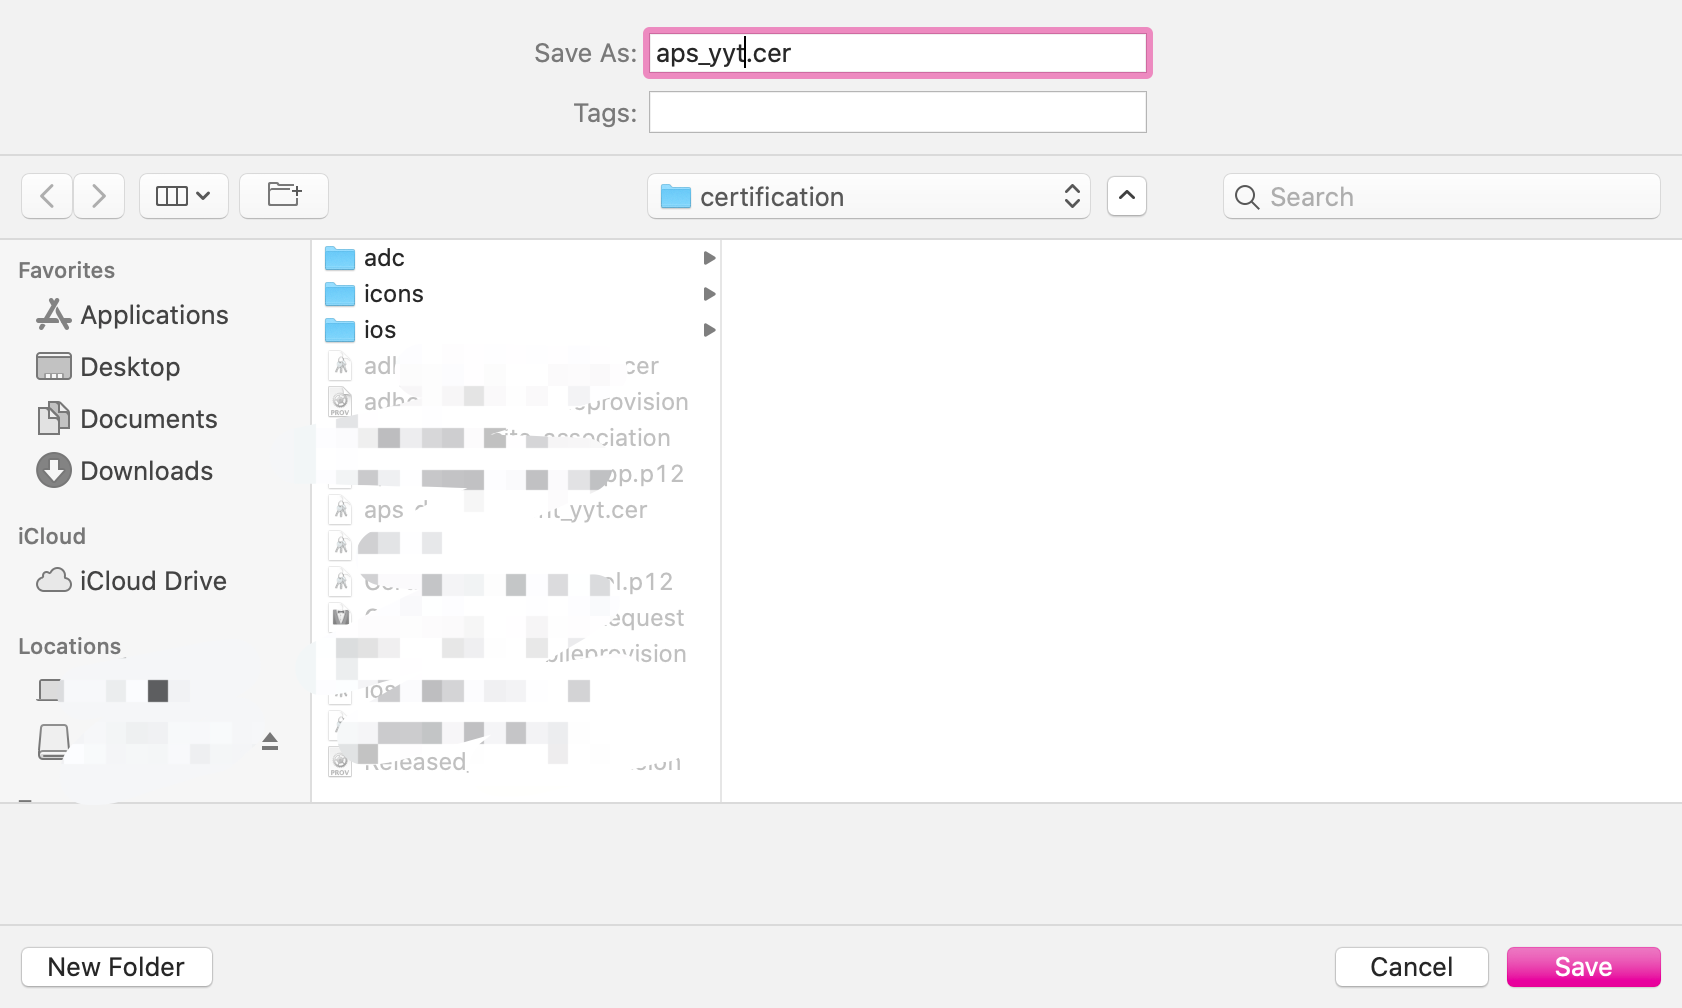
起个名字下载到本地:
相同的步骤配置正式环境的推送证书:
两个证书配置完毕后的效果:
分别双击两个证书,在“KeychainAccess”中打开,选择左侧“钥匙串”列表中“登录”,以及“种类”列表中“我的证书”,找到刚才下载的证书,并导出为 .p12 文件。
找到它并设置为总是信任:
将其导出为 p12 文件:
同样的方式为生产证书设置总是信任以及导出为 p12 证书。
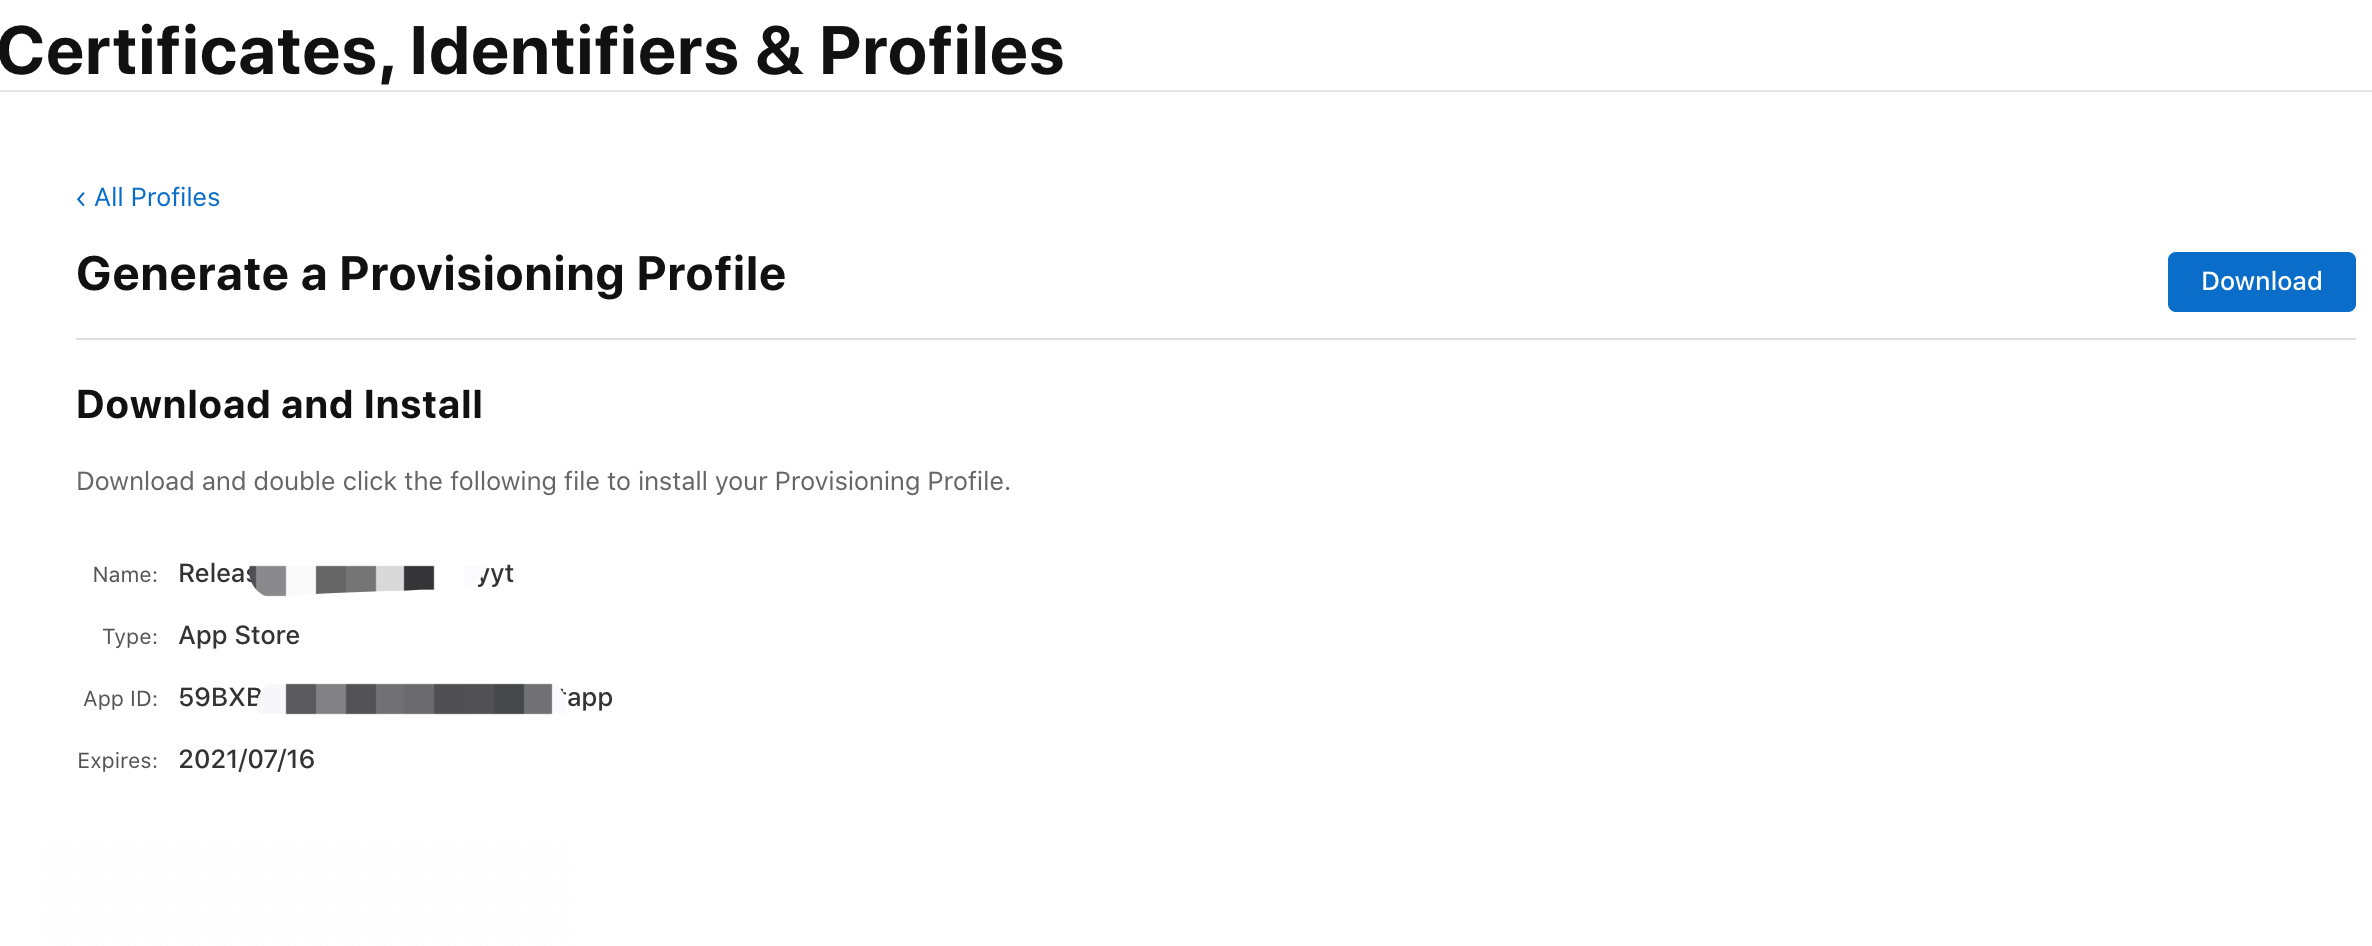
重新生成一遍 Profile 文件 极光配置 登录极光官网:
https://www.jiguang.cn/
认证开发者账号,此处省略。
进入开发者平台:
https://www.jiguang.cn/dev2/#/newOverview?appKey=
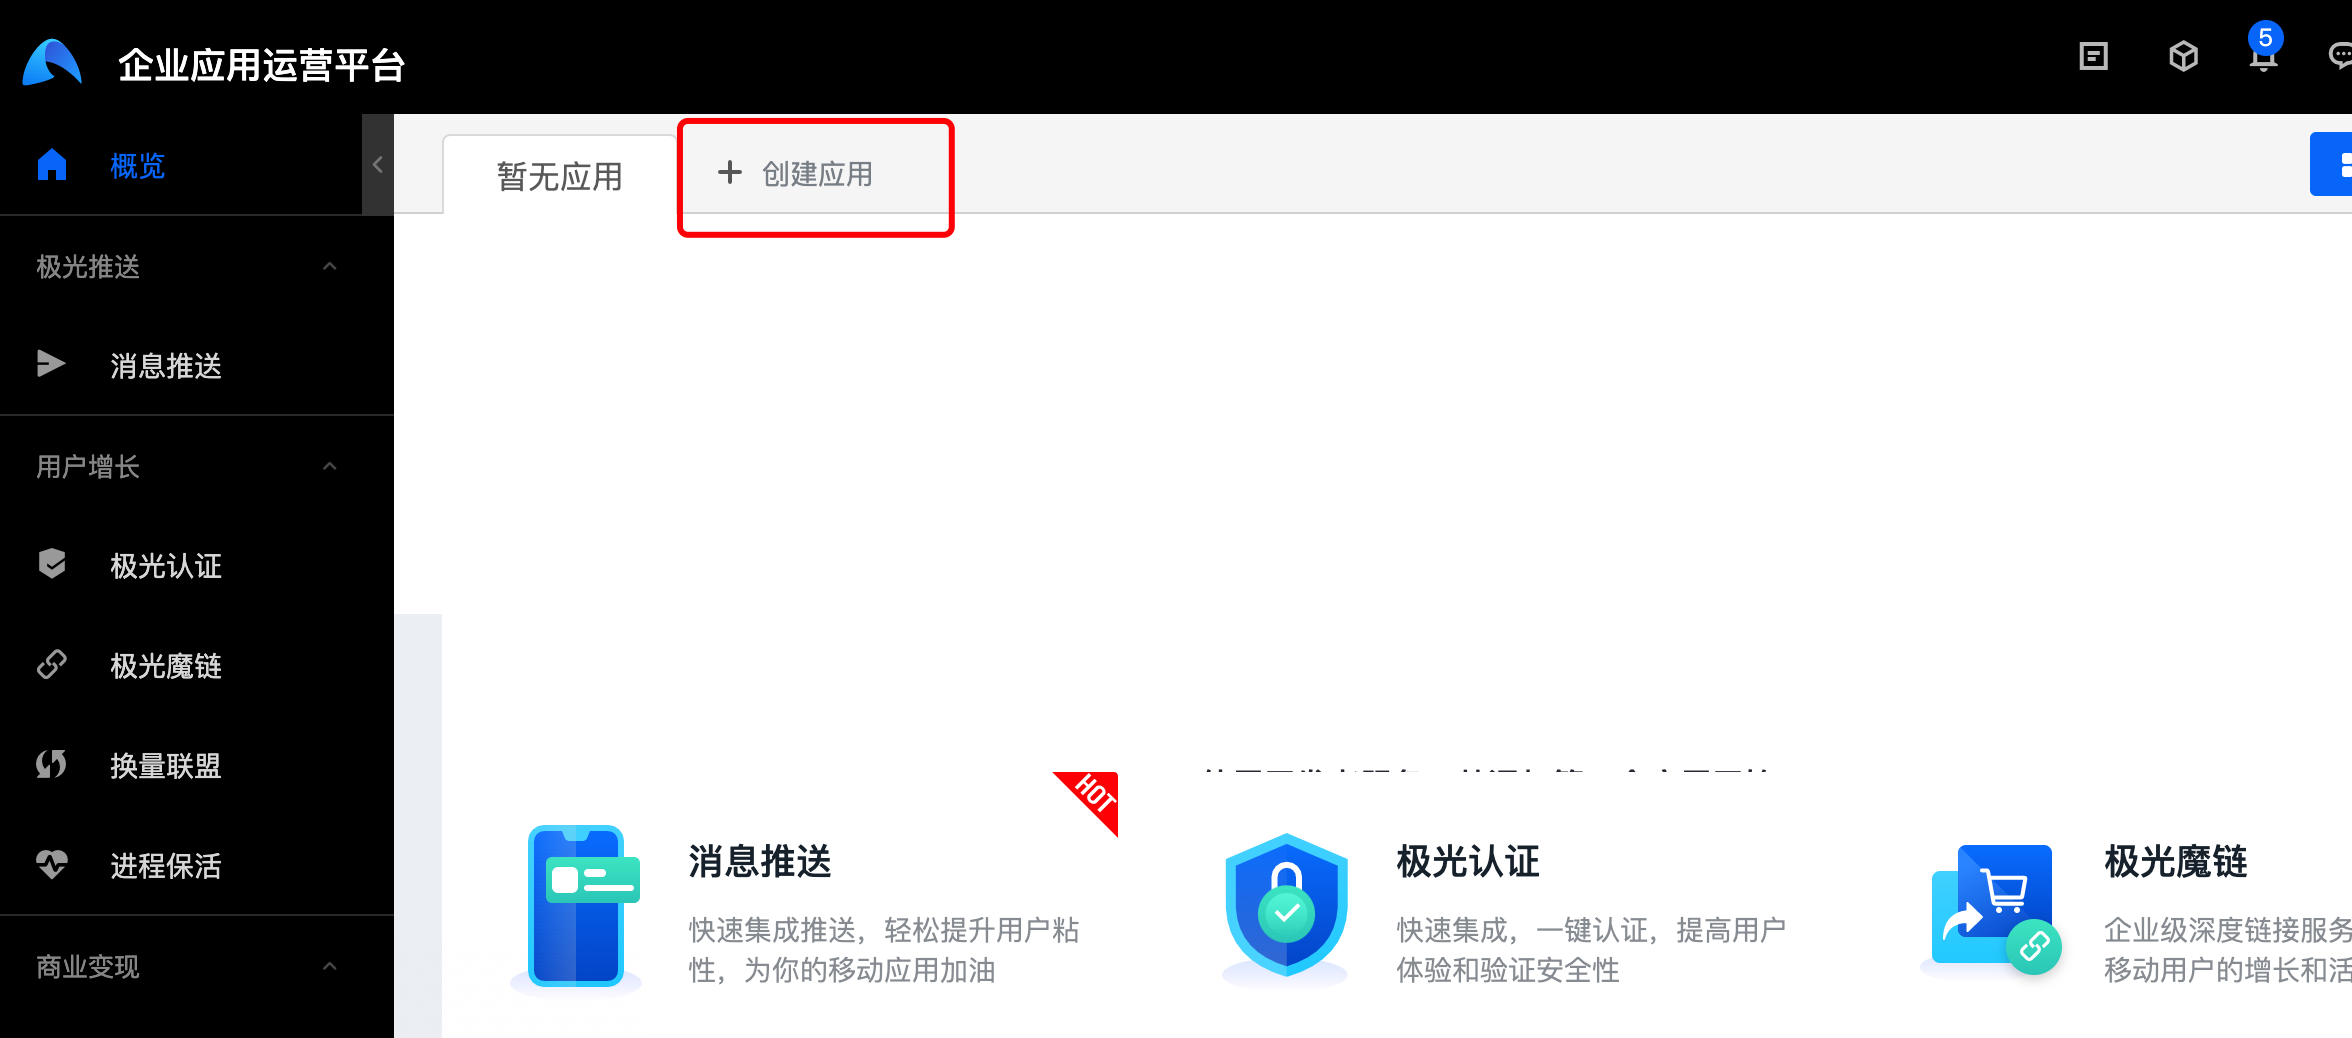
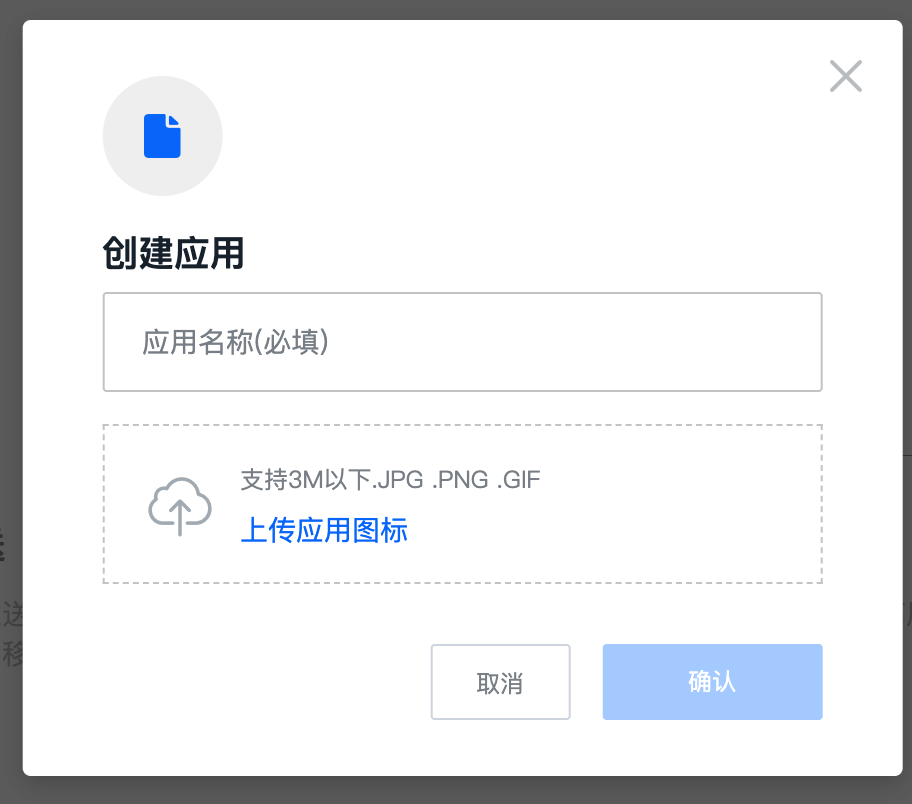
创建应用 填写应用名称以及上传图标:
创建完毕后会自动跳转:
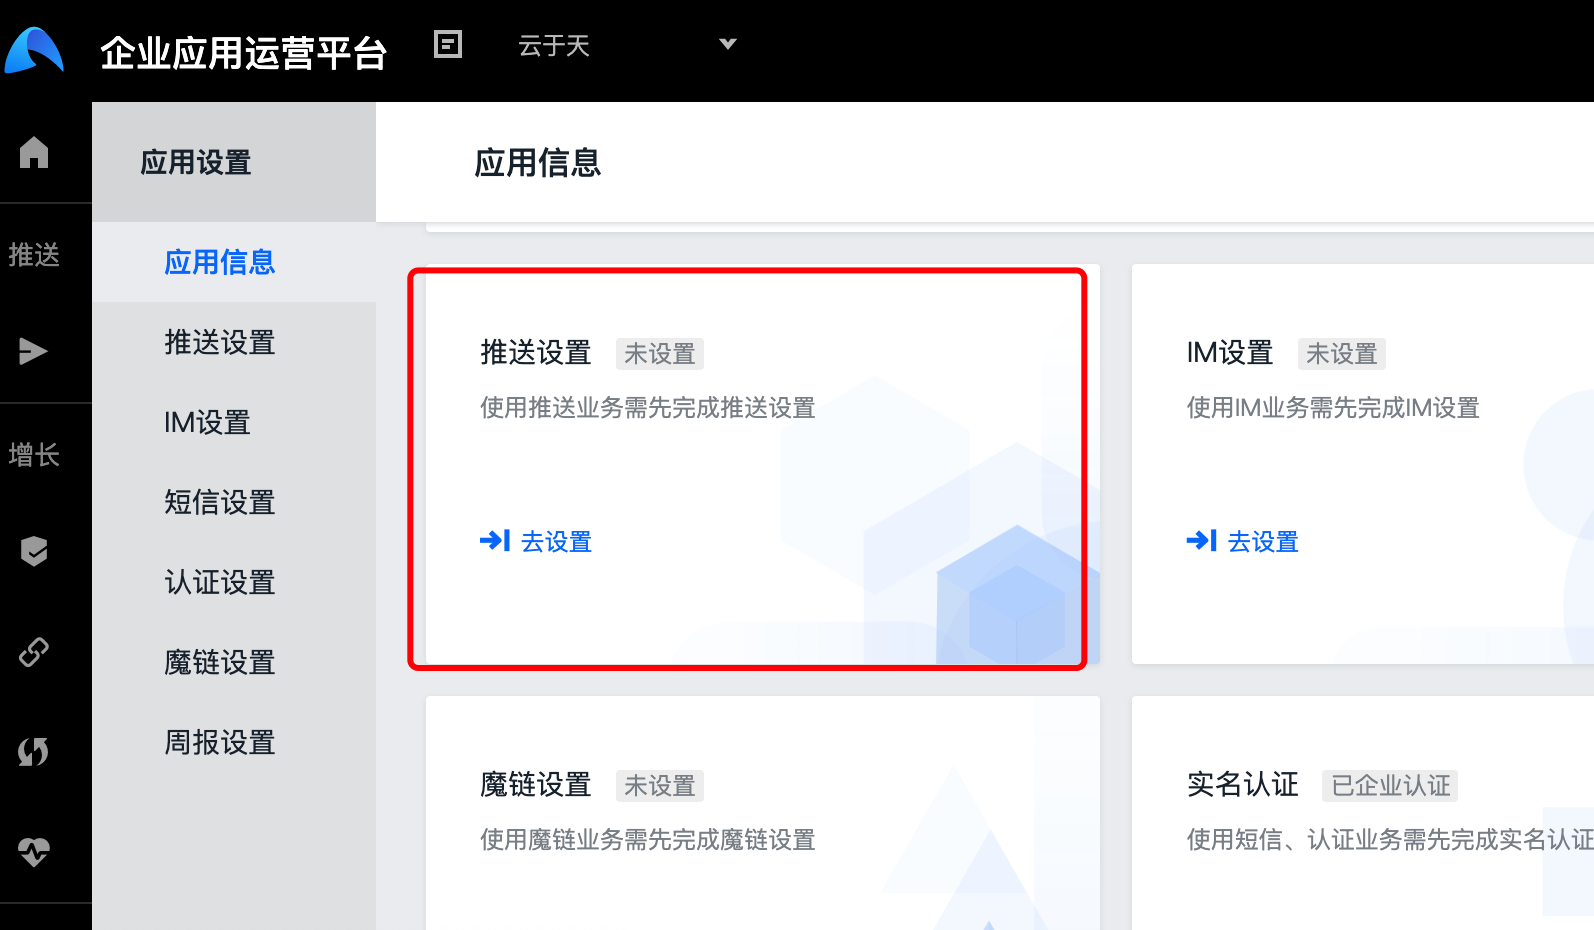
进入推送设置:
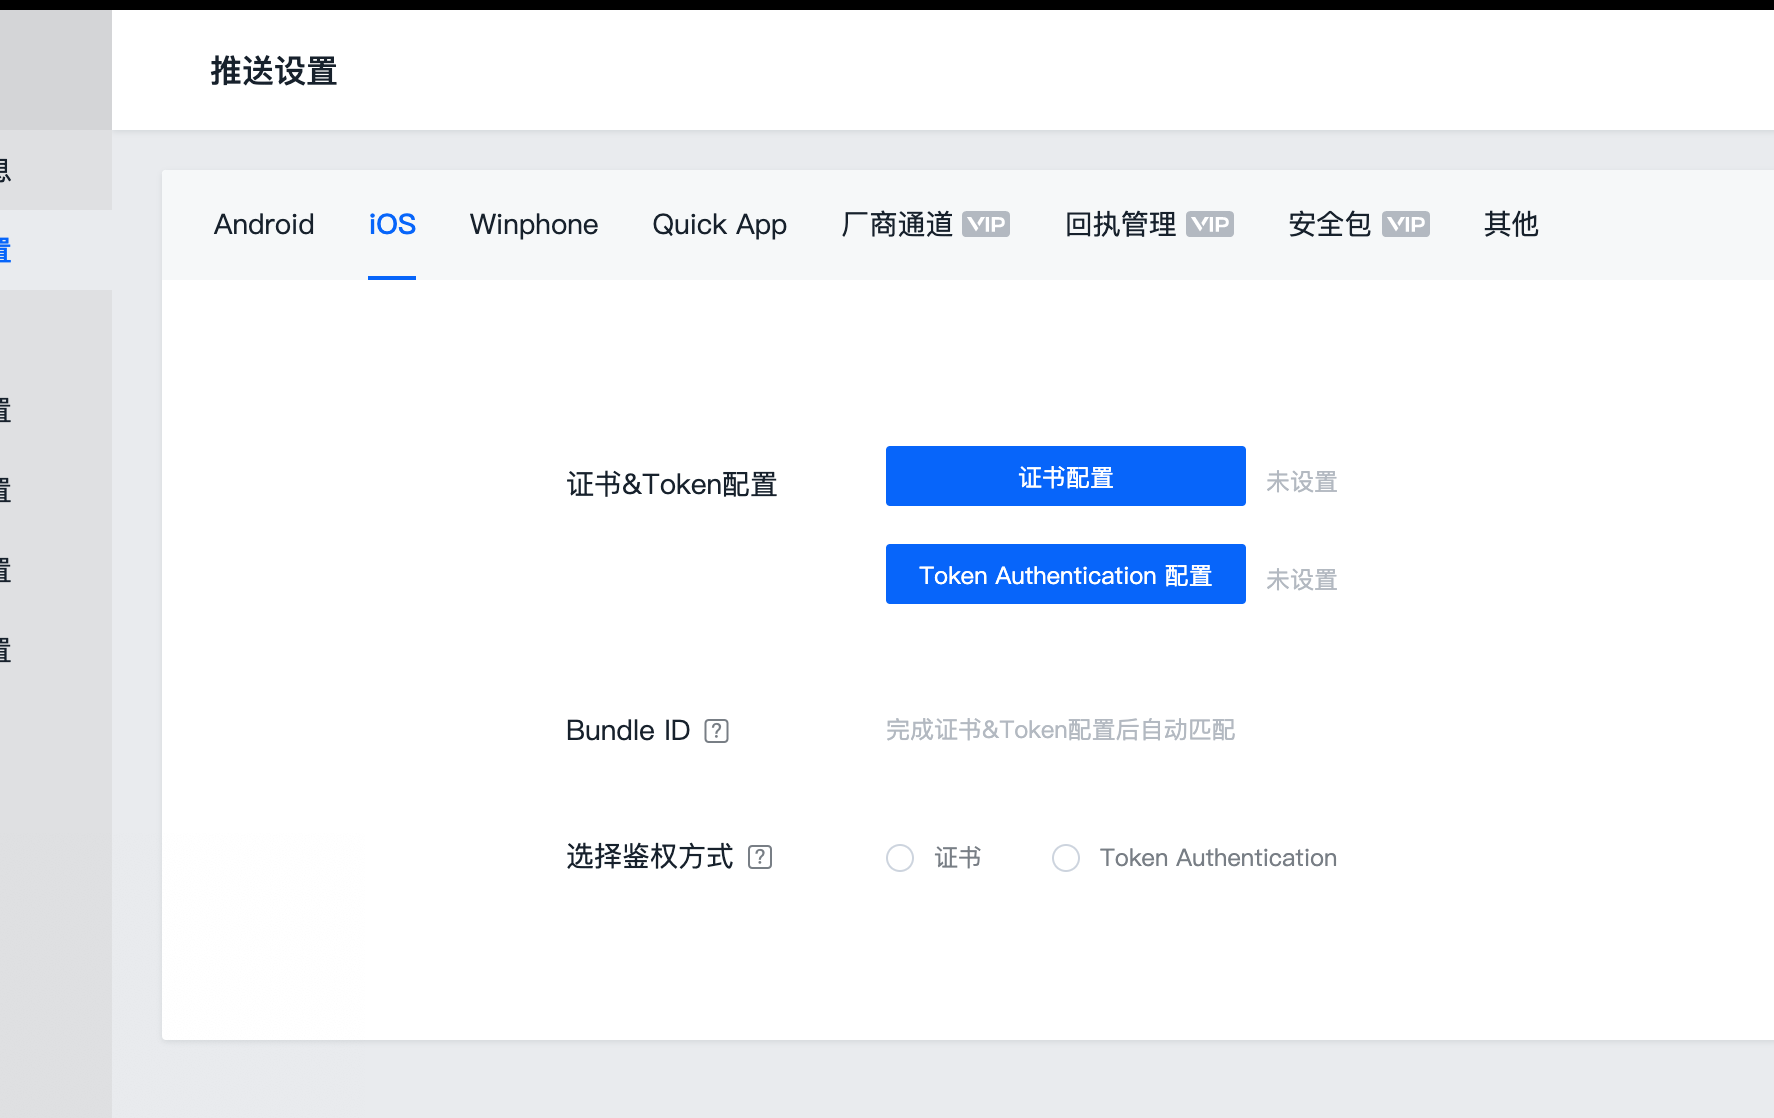
iOS 证书配置 配置完毕后点击保存:
导入极光 SDK 在 Xcode 中通过 Cocoapods 的方式导入:
通过 pod update --no-repo-update 进行 pods 更新。
上架前提醒 提交新版本或者初次上架之前,最后会遇到一个关于 IDFA 的选项。
您的 App 正在使用广告标识符 (IDFA)。您必须先提供关于 IDFA 的使用信息或将其从 App 中移除,然后再上传您的二进制文件。
记得要勾上是 。否则会遇到麻烦。
P.S. 如果你的项目不需要投送广告,可以选择无 IDFA 版本的极光 SDK,集成方式如下:
1
2
pod 'JCore', '2.3.4-noidfa' pod 'JPush', '3.3.4'
配置推送:
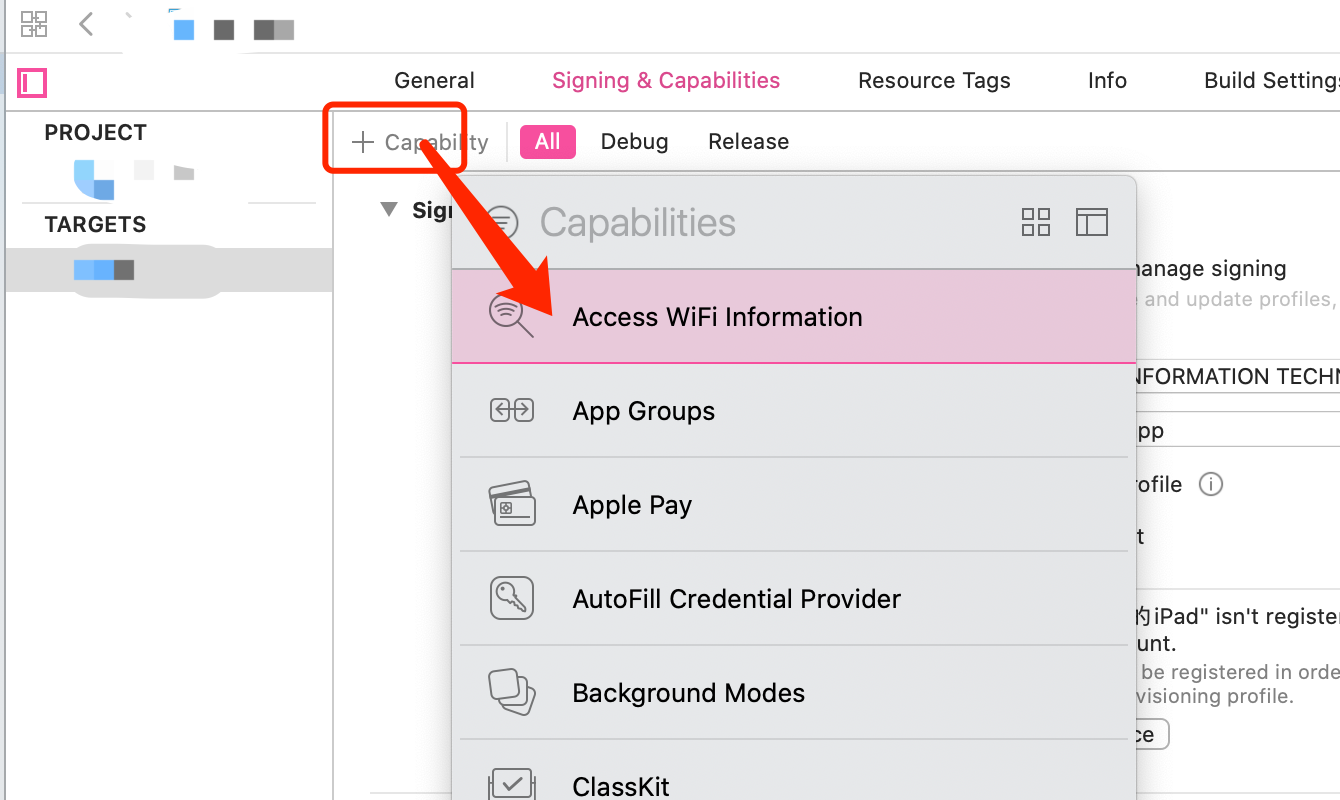
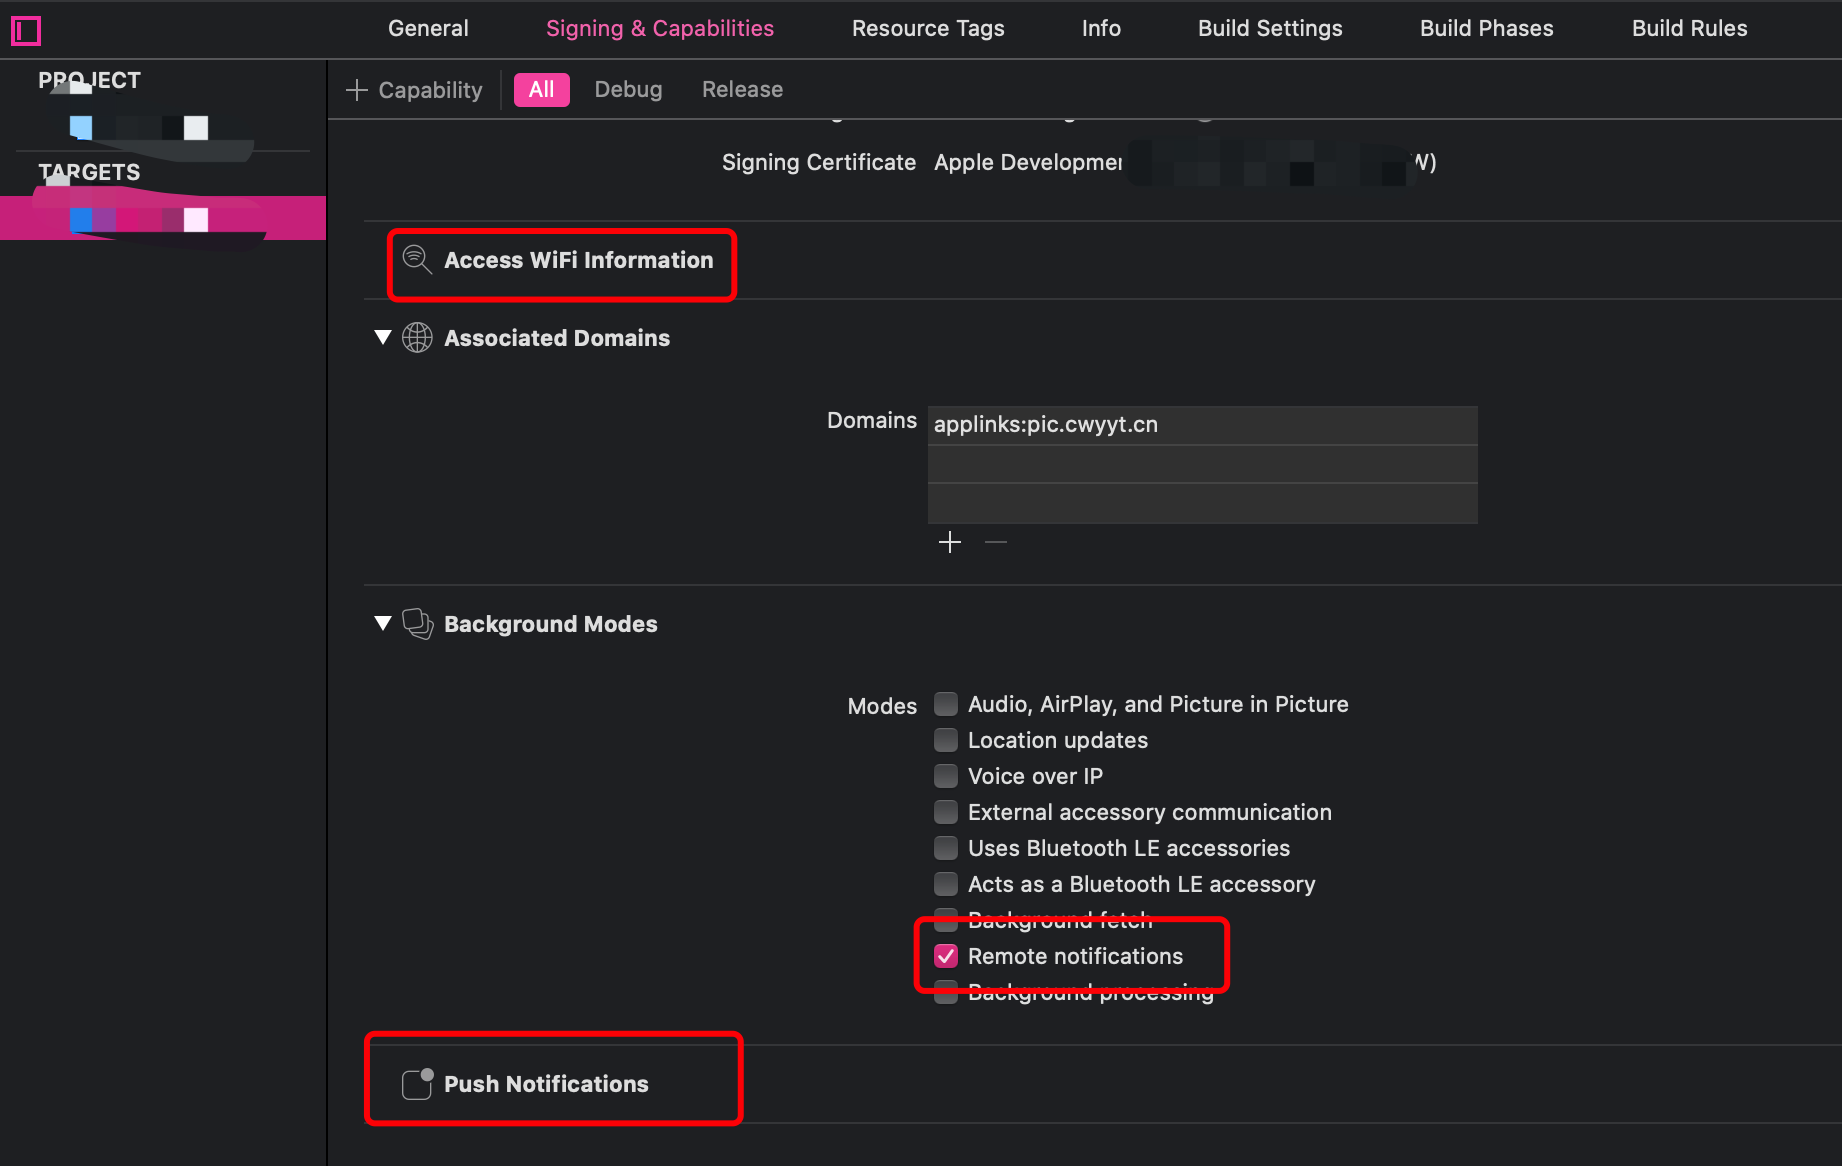
我的 Xcode 版本为 11,所以要开启 Application Target 的 Capabilities-> Access WIFI Infomation 选项。
还有 PushNotifications ,以及打开 Remote notifications :
创建桥接文件
XXX_Bridging-Header.h (XXX 随便设置,一般用项目名大写字母)
1 2 3 4 5 #import "JPUSHService.h" #import <UserNotifications/UserNotifications.h>
AppDelegate.swift 中编写极光相关代码 1 2 3 4 5 6 7 8 9 10 11 12 13 14 15 16 17 18 19 20 21 22 23 24 25 26 27 28 29 30 31 32 33 34 35 36 37 38 39 40 41 42 43 44 45 46 47 48 49 50 51 52 53 54 55 56 57 58 59 60 61 62 63 64 65 66 67 68 69 70 71 72 73 74 75 76 77 78 79 80 81 82 83 84 85 86 87 88 89 90 import UserNotifications @UIApplicationMain class AppDelegate : UIResponder , UIApplicationDelegate , JPUSHRegisterDelegate var window: UIWindow? func application (_ : UIApplication, didFinishLaunchingWithOptions launchOptions: [UIApplication.LaunchOptionsKey: Any ]?) Bool { registerJPush(launchOptions: launchOptions) window = UIWindow (frame: UIScreen .main.bounds) window?.rootViewController = ViewController () window?.makeKeyAndVisible() return true } func applicationDidFinishLaunching (_ : UIApplication) func registerJPush (launchOptions: [UIApplication.LaunchOptionsKey: Any ]?) let entiity = JPUSHRegisterEntity () entiity.types = Int (UNAuthorizationOptions .alert.rawValue | UNAuthorizationOptions .badge.rawValue | UNAuthorizationOptions .sound.rawValue) JPUSHService .register(forRemoteNotificationConfig: entiity, delegate: self ) JPUSHService .setup(withOption: launchOptions, appKey: JPushAppKey , channel: "app store" , apsForProduction: false ) } func jpushNotificationCenter (_ : UNUserNotificationCenter!, willPresent notification: UNNotification!, withCompletionHandler completionHandler: ((Int) Void )!) { let userInfo = notification.request.content.userInfo if notification.request.trigger is UNPushNotificationTrigger { JPUSHService .handleRemoteNotification(userInfo) } completionHandler(Int (UNNotificationPresentationOptions .alert.rawValue)) } func jpushNotificationCenter (_ : UNUserNotificationCenter!, didReceive response: UNNotificationResponse!, withCompletionHandler completionHandler: (() Void )!) { let userInfo = response.notification.request.content.userInfo if response.notification.request.trigger is UNPushNotificationTrigger { JPUSHService .handleRemoteNotification(userInfo) } completionHandler() } func application (_ : UIApplication, didReceiveRemoteNotification userInfo: [AnyHashable: Any ], fetchCompletionHandler completionHandler: @escaping (UIBackgroundFetchResult) Void ) { JPUSHService .handleRemoteNotification(userInfo) completionHandler(UIBackgroundFetchResult .newData) } func application (_ : UIApplication, didRegisterForRemoteNotificationsWithDeviceToken deviceToken: Data) JPUSHService .registerDeviceToken(deviceToken) } func application (_ : UIApplication, didFailToRegisterForRemoteNotificationsWithError error: Error) print ("did Fail To Register For Remote Notifications With Error: \(error)" ) } func applicationDidEnterBackground (_ : UIApplication) UIApplication .shared.applicationIconBadgeNumber = 0 JPUSHService .setBadge(0 ) let center = UNUserNotificationCenter .current() center.removeAllDeliveredNotifications() center.removeAllPendingNotificationRequests() } func jpushNotificationCenter (_ : UNUserNotificationCenter!, openSettingsFor _ : UNNotification!) func jpushNotificationAuthorization (_ : JPAuthorizationStatus, withInfo _ : [AnyHashable: Any ]!) }
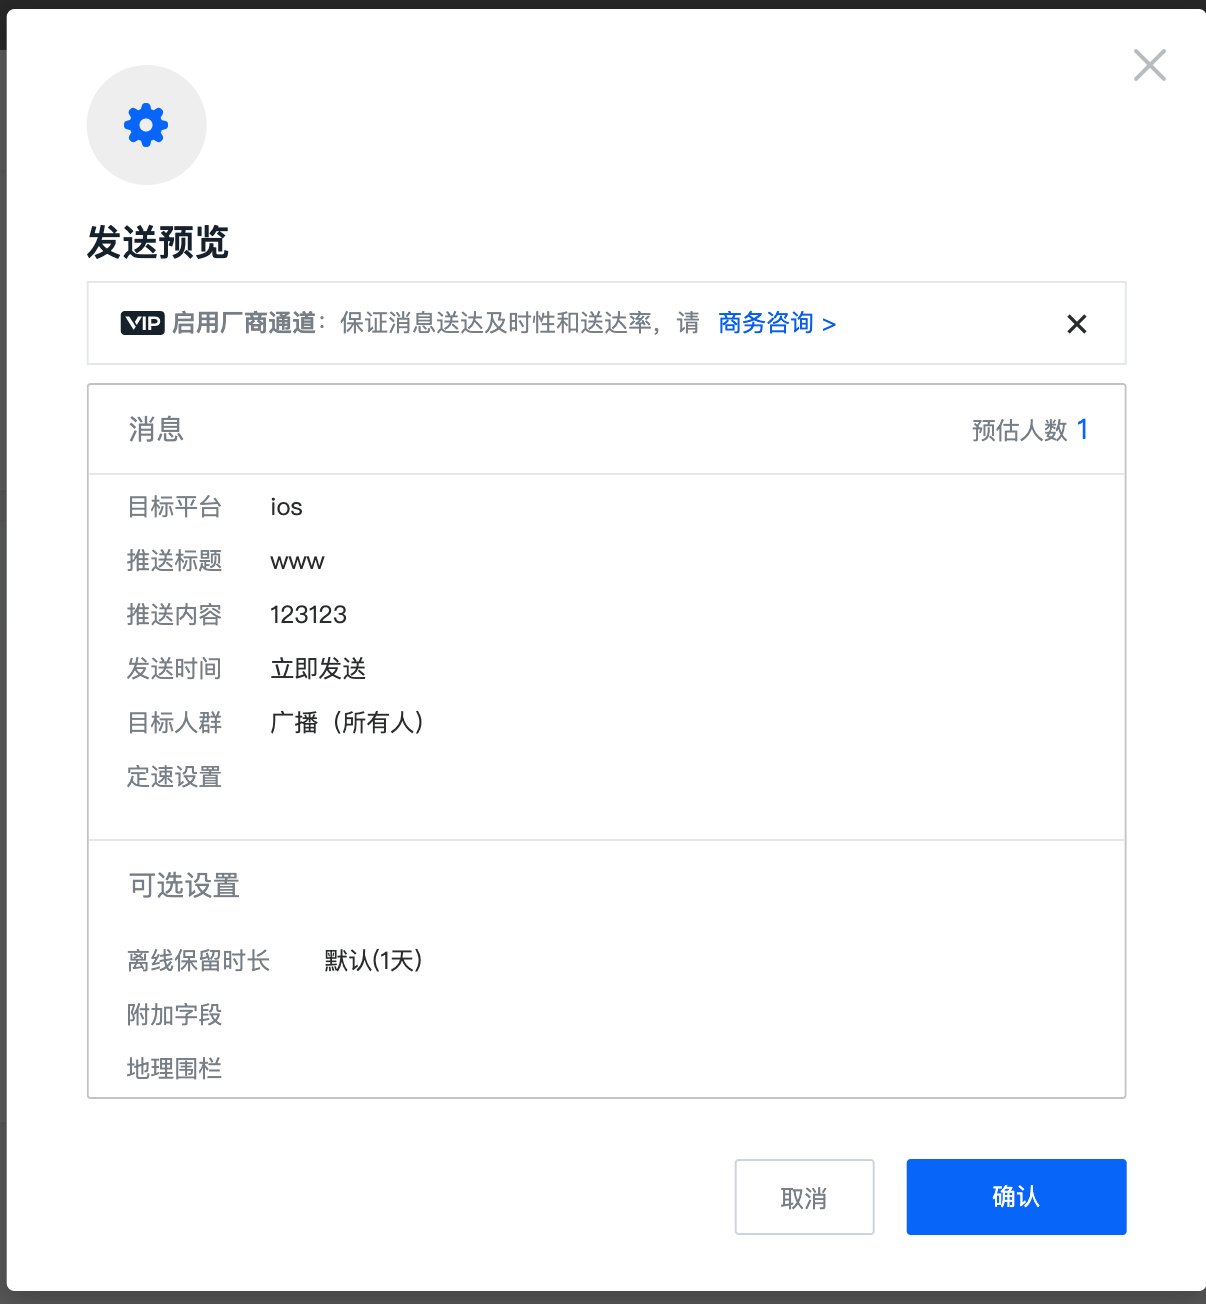
测试通知 现在我们来测试下发个通知给所有用户:
点击确认就能够发送通知给用户啦。
参考 iOS SDK 集成指南

